Easy to install:Picam360 software installation using Docker
2022-06-10 2022-06-28
Docker can now be used to create a pre-installed environment for Picam360 software.
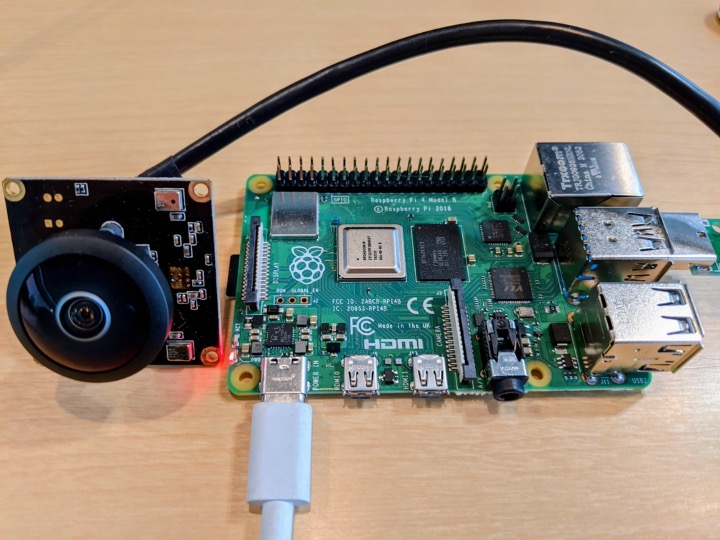
Hello, my name is GAKU and I am a member of the Picam360 development community.
You can now build a pre-installed environment for Picam360 software using Docker. Compared to the previous procedure, the number of steps is fewer and easier to install.
Points to note
The operating environment established by the procedures described in this article is not yet complete.
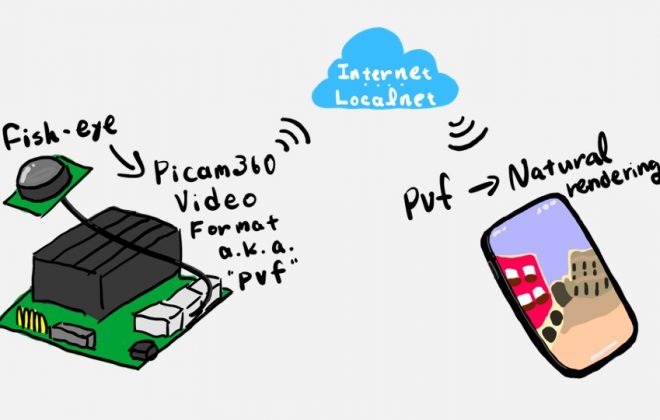
- The camera calibration function is not available. The camera can be used because it applies provisional calibration information, but the image will be distorted.(We are considering implementing an automatic calibration function in the future)
- The activation function is not available. Stereo functionality will work without activation, but FPS will be limited to 7.5.
These will be updated in this article as and when improvements are made.
Before proceeding to the installation procedure, please read this article for precautions in using the Picam360 software.
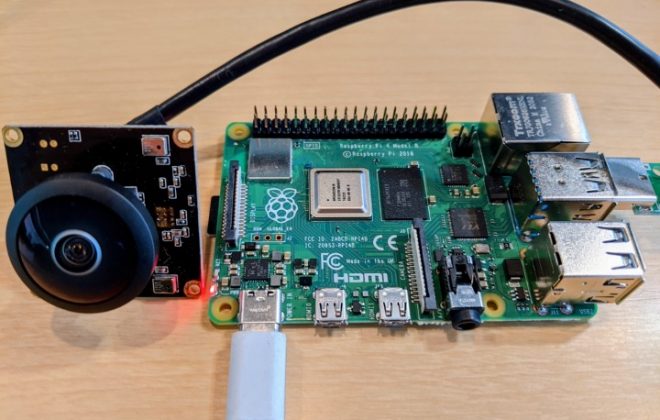
Start Picam360 with Jetson Nano – 1: Items for Getting Started, and Notes
Installation Procedure
Install the nvidia runtime.
$ sudo apt-get install nvidia-container-runtime
Create a configuration file.
sudo tee /etc/docker/daemon.json <<EOF
{
  "runtimes": {
    "nvidia": {
      "path": "/usr/bin/nvidia-container-runtime",
      "runtimeArgs": []
    }
  }
}
EOF
Restart the docker daemon.
$ sudo systemctl restart docker
Download the necessary files for installation from Github.
$ git clone --depth=1 https://github.com/picam360/node-pserver.git
Go to the directory containing the files for the docker.
$ cd node-pserver/docker/jetson
Creates a docker image. A trailing dot is required.
$ sudo docker build -t pserver:0.1.10 -f Dockerfile.jetson .
Create a container
# For single camera:
$ sudo docker run -d --name pserver --runtime nvidia -p 9001:9001 -v /etc/pserver:/etc/pserver --privileged pserver:0.1.10 -c /root/mono-config.json
# For stereo camera:
$ sudo docker run -d --name pserver --runtime nvidia -p 9001:9001 -v /etc/pserver:/etc/pserver --privileged pserver:0.1.10 -c /root/stereo-config.json
Installation is now complete.
Start the containar
The container is started. The Pserver (Picam36o software) in the container will also be started.
$ sudo docker start -a pserver
Connect from the Viewer
The connection procedure from the viewer application is the same as before. Please refer to the following article. Also, if you wish to modify the Pserver configuration file, please refer to “Editing the Configuration File in the Container” at the bottom of this article.
Editing the Configuration File in the Container
Open a new terminal.
Enter the starting container.
$ sudo docker container exec -it pserver bash
Open and edit the Psever configuration file.
# For single camera:

$ nano mono-config.json

# For stereo camera:

$ nano stereo-config.json
When editing is complete, exit the container.
$ exit
Overwrites and saves container edits.
$ sudo docker commit pserver pserver:0.1.10
Set to start automatically
If you want Psever to start at the same time as Jetson Nano starts, register Pserver as a service and enable the automatic function. This can be done with the following settings
Copy the service configuration file into place.
#sudo cp pserver.service /etc/systemd/system/
Load the settings.
#sudo systemctl daemon-reload
Enable the autostart setting. Now when you restart Jetson Nano, the container will automatically start up as well.
#sudo systemctl enable pserver.service
Immediately after configuration, the service is not yet started, so restart Jetson Nano or use the following command to start it.
#sudo systemctl start pserver.service
These are the steps to install Picam360 software using Docker.
Picam360 Links:
- Web Site: https://www.picam360.com
- Web Store: https://store.picam360.com
- Twitter: https://twitter.com/picam360
- Facebook: https://www.facebook.com/Picam360/