Live Streaming of Fisheye Camera Footage in VR with Raspberry Pi
2021-06-22 2022-06-22
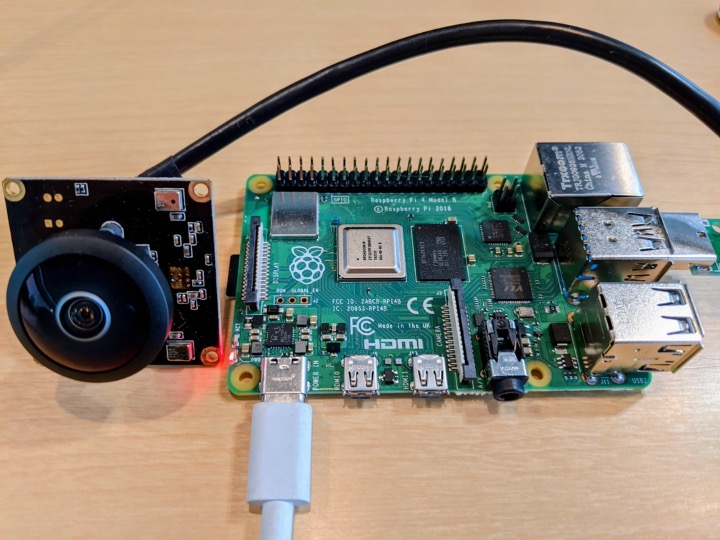
Learn how to connect a Picam360 camera to a Raspberry Pi and stream 360 degree video in real time.
Hello, my name is GAKU from the Picam360 development community.
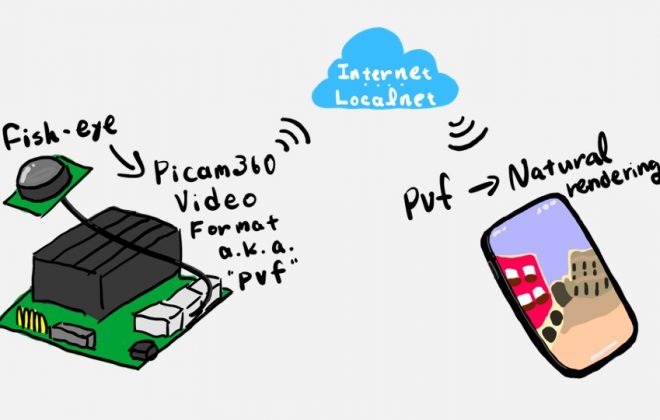
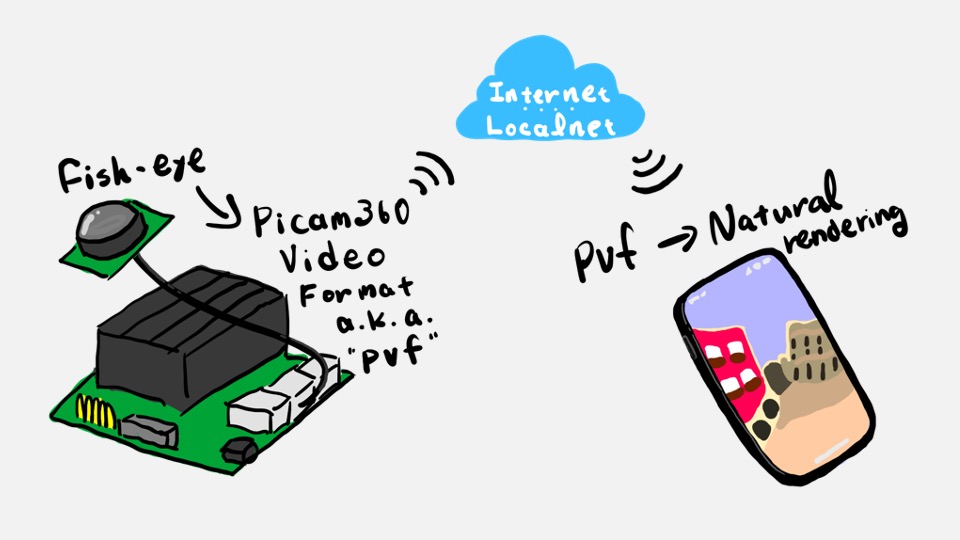
Using the Raspberry Pi4, I tried to live stream Picam360’s fisheye video as VR video. In this article, I’ll show you the procedure.
How it actually works
This is a real-time streaming from the Raspberry Pi to a smartphone, and the screen was captured. (It’s slightly distorted because I didn’t calibrate it properly.)
What do you think? I took this picture with the viewer on the screen, so I think you can get a feel for how it actually works.
The bitrate setting for this streaming was 1.5 MBps. The Raspberry Pi is not as powerful as the Jetson Nano, so the resolution and frame rate are lower (so using the Jetson Nano is recommended), but I think it can be used for some applications.
What to prepare
- Raspberry Pi4
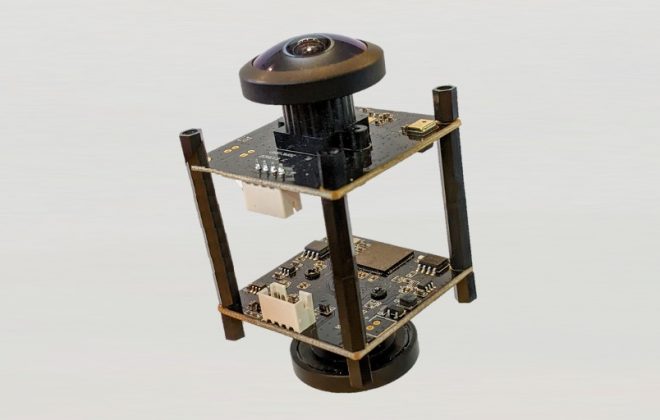
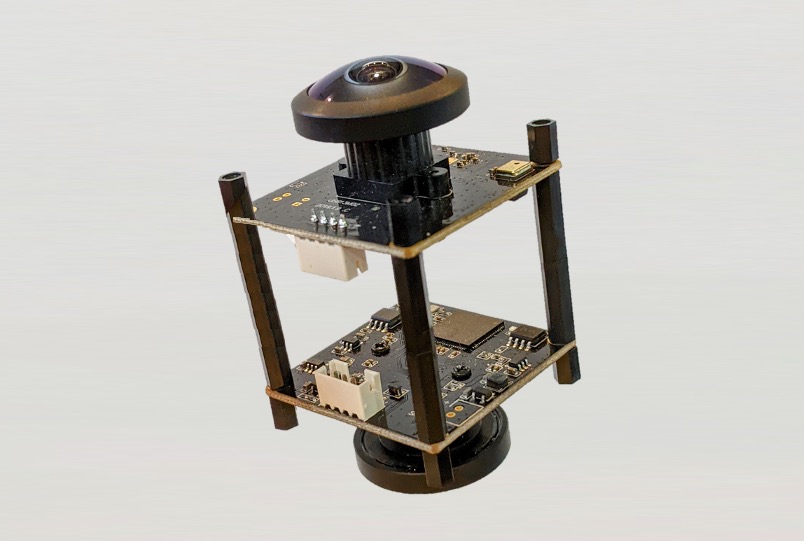
- Picam360
You can use PICAM360-4KHDR, PICAM360-CAMPT8MP, or PICAM360-CAMTWDR. Due to the processing performance of the Raspberry Pi, the number of input pixels is reduced, but the PICAM360-4KHDR is still beautiful in terms of image quality when actually viewed.
Verified Environment
- Raspberry Pi: Raspberry Pi 4
- OS: Raspberry Pi OS Buster (Does not work with Bullseye)
- npm: 6.14.3
- node: v14.17.1
- node-pserver: 0.1.5
- Connection method: WebRTC (WebSocket connections are not available)
Install the Picam360 software on the Raspberry Pi
The basic setup process is the same as the procedure described in the previous article on live streaming VR video with Jetson Nano (Start Picam360 with Jetson Nano). The same parts will be described by referring to that article.
Use the terminal to install the necessary software. After executing the command, check the log that is displayed to see if it completed successfully. If there is an error, you can often find a solution by searching the web for the error message.
First, install the necessary software for the Picam360 server-side software ‘PServer‘.
$ sudo apt-get install cmake
$ sudo apt-get install libtbb-dev
$ sudo apt-get install gstreamer1.0-tools
$ curl --location git.io/nodebrew | perl - setup
Set path to nodebrew installed at the end of the above. Open the .bashrc file in nano editor.
$ cd ~
$ nano .bashrc
Paste the following at the end of the file.
export PATH=$HOME/.nodebrew/current/bin:$PATH
Use ctrl+o, ctrl+x to save and close the file.
Reload the .bashrc.
$ source ~/.bashrc
Install node and npm.
$ nodebrew install v14.17.1
$ nodebrew use v14.17.1
Install PServer.
$ npm install -g node-pserver@0.1.5
This completes the installation of the software on the raspberry pi.
Setting up the configuration file
Place the configuration files used by the software.
First, create a folder to place the configuration files.
$ cd ~
$ mkdir pserver
Create and open a file with nano.
$ cd ~/pserver
$ nano config.json
Copy and paste the contents of config.json from this page.
Turn on the flag to enable WebRTC.
# Entry example.
"wrtc_enabled" : true,
"wrtc_key" : "0dcad23c27a5407db4eacfb5dfb4a676"
Change wrtc_enable to true.
Enter a key of your choice in wrtc_key. if WebRTC is enabled, this key will allow you to connect to the camera. Specify a sufficiently long key that does not duplicate others.
Use ctrl+o, ctrl+x to save and close the file.
Calibration
There was a bug in the calibration function and it is currently being fixed. The camera can be used by installing a calibration file in the interim, and I will introduce the procedure. This article will be updated as soon as the fix for the calibration function is completed.
Temporarily place the calibration file:
Create and open a file with nano.
$ cd ~/pserver
$ nano lens_params.json
Copy and paste the contents of lens_params.json from this page.
Use ctrl+o, ctrl+x to save and close the file.
The path of the lens_params file in the configuration file needs to be rewritten to the actual path, so use the following command to find out the path of the current directory.
$ pwd
Open the configuration file config.json above and replace lens_params=\”file:///home/pi/pserver/lens_params.json\” with the directory you checked above, save it and close it.
You should now have two files in the ~/pserver directory, config.json and lens_params.json.
$ ls ~/pserver
Start the server software
If a monitor is connected:
$ pserver -c ~/pserver/config.json
In the case of Headless (no monitor):
Install Xvfb. You only need to do this once.
$ sudo apt-get install xvfb
Open two terminals.
On the other hand, start xvfb.
$ Xvfb :1 -screen 0 1024x768x24
Start PServer on the other.
$ export DISPLAY=:1 && pserver -c ~/pserver/config.json
The server software will now start and you will be able to connect to it from the viewer.
To quit PServer, press ctrl+c in the terminal.
Let’s Real-time Streaming
The installation and connection of the viewer app is the same as the procedure in the following article I mentioned earlier. Now you can stream in real time!
That’s it.
This time, I used the Raspberry Pi to stream the fisheye video from the Picam360 camera as VR video in real time.
See you next time.
Picam360 Links:
- Web Site: https://www.picam360.com
- Web Store: https://store.picam360.com
- Twitter: https://twitter.com/picam360
- Facebook: https://www.facebook.com/Picam360/