Live streaming fulldome video with Jetson Nano and fisheye cameras
2021-12-15 2021-12-15
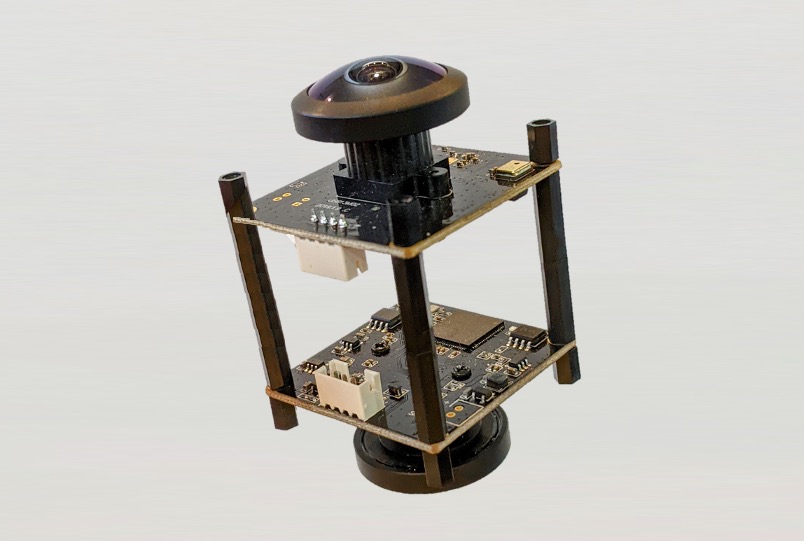
Here are the steps to set up two Picam360 cameras as a fulldome camera for live streaming.
Hello, my name is GAKU from the Picam360 developer community.
In this article, I will show you how to set up two Picam360 cameras as a fulldome camera.
Hemisphere and Fulldome
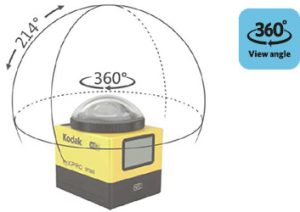
A hemispheric camera is a general term for a camera that can capture images of roughly half the area of a sphere. You can adjust the camera so that unnecessary areas, the photographer, tripod, etc. are not captured. Picam360 is a hemispheric camera.
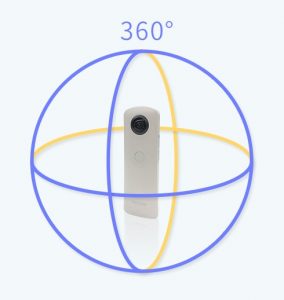
A fulldome camera is a camera that can capture images in all directions simultaneously. It can record the entire scene. In this article, I will set up two Picam360s as a fulldome camera.
Joining treatment
In order to combine images taken by multiple cameras into a single 360-degree image, the boundaries of the images need to be joined. The process of joining images together using software is called ‘stitching‘. The computational resources of the Jetson Nano are a bit insufficient to handle the processing required to stream two Picam360 cameras, plus stitching. For this reason, Picam360 software uses a simple joining method where the boundary areas are slightly transparent and superimposed (alpha blending).
Items used in this project
- Camera: PICAM360-4KHDR x 2 (8MP, WDR model can be used.)
- Server Device: Jetson Nano
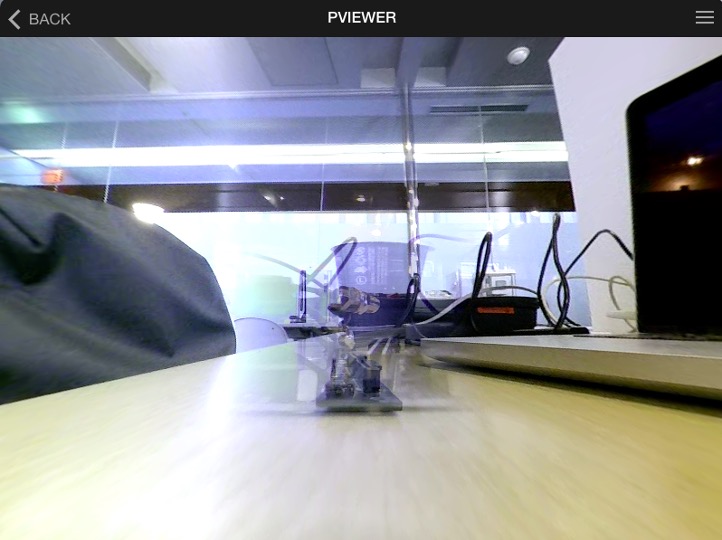
- Viewer: Use the multi-platform viewer application “PViewer”. See <here> for details. The viewer image shown in this article is the Mac version of PViewer.
Use a Wi-Fi antenna that meets the requirements
If you are connecting two cameras, you need to be careful in selecting the Wi-Fi antenna to use. Use an antenna that matches the requirements listed in the Wi-Fi antenna section of <Getting Started with Picam360 on the Jetson Nano – 1: Items for Getting Started, and Notes>. We recommend the Intel Dual Band Wireless-AC 8265 M.2 Wi-Fi card. It is certified by Nvidia to work.
Installation of cameras
The photo at the beginning of the article shows two cameras fixed with M2 (mm) spacers.
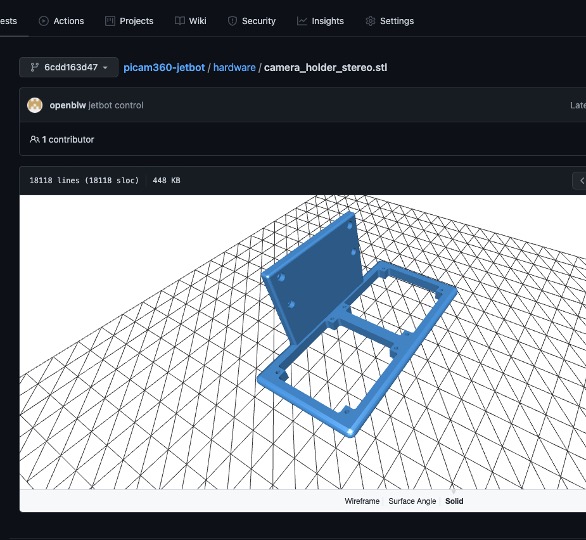
The design data for a 3D printable camera holder for stereo cameras is available on <this page>. I’m sorry I don’t have a holder for the fulldome. If you want to make your own camera holder, you can use the dimensions and shape from the stereo camera holder as a reference.
Set up the Jetson Nano
The setup procedure is almost identical to that of a stereo camera. Please refer to the Stereo Camera Setup Instructions page below to set up your cameras. This article explains the different parts of the stereo camera procedure.
Items that differ from the stereo camera settings
No software license required: No software license is required for fulldome setup. Skip the step about an activation key included in the stereo camera instruction.
Configuration file: The stereo camera procedure includes a step to download the configuration file. In that step, you will need to download the configuration file for the fulldome. The fulldome configuration file is located on the same web page as the stereo camera configuration file.
The file name is also different, so please change the file name in the download command to the name of the downloaded configuration file.
# e.g:
$ curl -Lo jetbot-vr360x2-config.json https://drive.google.com/u/3/uc?id=FILE_ID&export=download
After the setup is complete, there is a step to start pserver before connecting from the viewer. Please also change the file name part of the startup command in that step and execute it.
# e.g:
$ export DISPLAY=:0 && pserver -c ~/pserver/jetbot-vr360x2-config.json
Live streaming of stereo fisheye camera video with Jetson Nano
View live video
Watch a real-time fulldome video. Please refer to the following article for the connection procedure.
That’s it for this post. See you soon.
Picam360 Link:
- Web Site: https://www.picam360.com
- Web Store: https://store.picam360.com
- Twitter: https://twitter.com/picam360
- Facebook: https://www.facebook.com/Picam360/

