Start Picam360 with Jetson Nano – 6: Connect
2021-05-29 2021-11-28
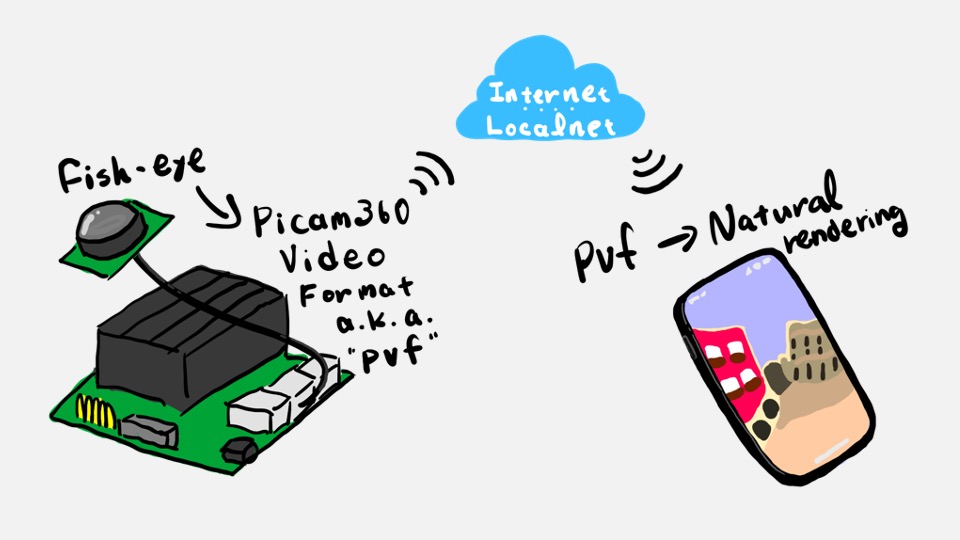
This is the sixth and final installment in a series of articles on how to connect a Picam360 camera to a JetsonNano and stream 360-degree video in real time.
Hello, my name is GAKU from the Picam360 development community.
In my last post, I showed you how to install the viewer application. In this last post, I’ll show you how to connect the viewer app to the Picam360 on the Jetson Nano and watch the real-time video.
Two connection routes
Local area network connection:
Connect to the Jetson Nano in the local net from a viewer app in the same local network. In this case, it cannot be accessed from an external network.
Connection via Internet:
It uses WebRTC to connect to the Jetson Nano via the Internet. You can use your smartphone to connect to your Jetson Nano at home while you are away from home.
Connectivity over the network is not guaranteed
Connection via local network or the Internet may not be possible depending on the network environment. In particular, connections via the Internet using WebRTC are often not possible due to router security settings or PC firewalls.
- Unguaranteed
Connection via local network or Internet
- Guaranteed
Direct connection of LAN cable (anti-virus software must be disabled)
You are responsible for your own security
When connecting via a local network, the only information required by the client to access the host is the host IP address + port number. When connecting via the Internet (WebRTC), the only information required is the key you set. It uses a simple connection process, so please take security measures at your own risk. The source code is available on GitHub as open source.
To enable a connection via the Internet
Open the configuration file.
$ cd ~/pserver
$ nano jetbot-vr180x1-config.json
To connect via the Internet:
# Example of input
"wrtc_enabled" : true,
"wrtc_key" : "0dcad23c27a5407db4eacfb5dfb4a676"
- Change wrtc_enable to true.
- Enter a key of your choice in wrtc_key. if WebRTC is enabled, this key will allow you to connect to the camera. You can connect via the local network even if wrtc_enable is true, but leave it false if you do not plan to use it to connect via the Internet.
To connect from within the local network:
No special settings are required.
After changing the settings, press Ctrl+o, Ctrl+x to save and close.
Launch the server software
Start the server software (pserver).
If your monitor is connected to the Jetson Nano, you can start it with the following command.
$ pserver -c ~/pserver/jetbot-vr180x1-config.json
In the case of Headless (without monitor), the following is shown: If you want to use pserver with Headless, the auto-login setting described in the previous chapter must be enabled.
$ export DISPLAY=:0 && pserver -c ~/pserver/jetbot-vr180x1-config.json
This will start the server software and it will be ready to connect from the viewer.
To quit pserver, press Ctrl+c in the terminal.
Launch the viewer app.
This section describes the startup procedure for each platform.
Mac, Windows, Linux
Open a terminal (command prompt).
Run the viewer application (pviewer).
$ pviewer
Remarks: Command options
$ pviewer -w <WebRtcKey> # The app will start with the WebRTC key entered in the Connect screen as described below.
$ pviewer -f <FilePathOrFileUrl> # Specify a video file, which will automatically start playing when the app is launched.
iOS, Android, Oculus
Launch the application according to the OS prescribed procedure.
Web Browser
Launch your web browser and access the following URL. Google Chrome is the recommended browser; other browsers have not been tested.
https://picam360.github.io/pviewer/?wrtc-key=your_key
Connect from the viewer
The connection procedure is the same regardless of the platform. If the CONNECT screen shown in the following screenshot is displayed from the beginning, you do not need to open the screen from the menu as described below.
Click the hamburger menu button (three horizontal lines) in the upper right corner of the screen to display the menu, and press CONNECT to display the CONNECT screen.
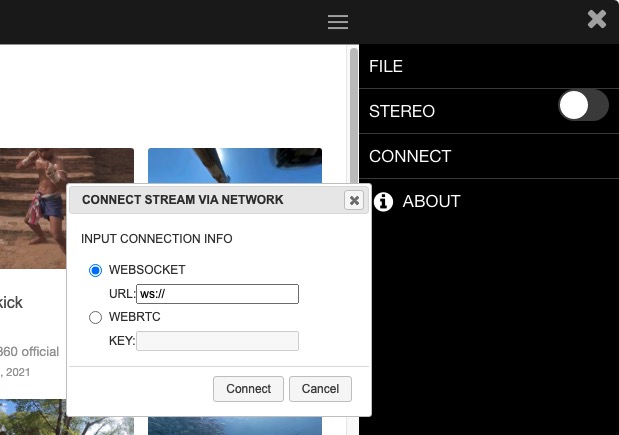
To connect via local net:
Select WEBSOCKET and enter the URL.
ws://<YourComputerName>.local:9001
Example:
ws://picam360.local:9001
To connect via the Internet:
Select WEBRTC and enter the KEY that you entered in the configuration file.
Example:
0dcad23c27a5407db4eacfb5dfb4a676
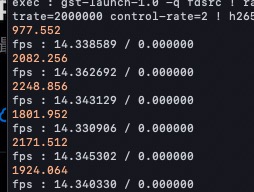
After entering the connection information, press the Connect button. If the connection is successful, the console on the Jetson Nano will display the following information
The video will be displayed in the viewer application. The following image was displayed on an iPad.

If you are unable to connect properly, please try the following
- If you are trying to connect via the Internet and can’t, please check if you can connect via the local network. If you are able to connect via the local network, the cause may be that WebRTC is not enabled, the key is wrong, or there is a problem with your network.
- Please check the installation procedure again to make sure it is correct. If there is no problem with the procedure and you are unable to connect via the local network, please install the software again according to the confirmed environment on this page.
Operation methods
Moving the view direction:
A smartphone or tablet’s viewing direction is linked to its posture. Also, you can move the viewing direction by swiping. On a computer, you can move it by dragging the mouse.
Zoom:
You can zoom in and out by pinching on your phone or tablet, or by scrolling your mouse on your computer.
Quit the app.
Mac, Windows, Linux:
In the terminal (command prompt), press Ctrl+c.
iOS, Android:
Quit the application by following the prescribed app quitting procedure on your phone.
This completes the introduction of the procedure.
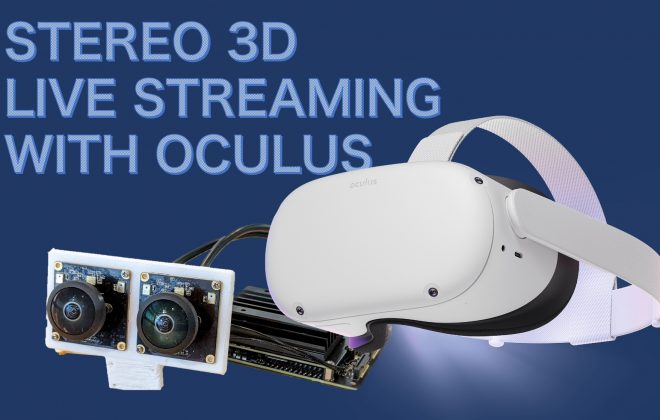
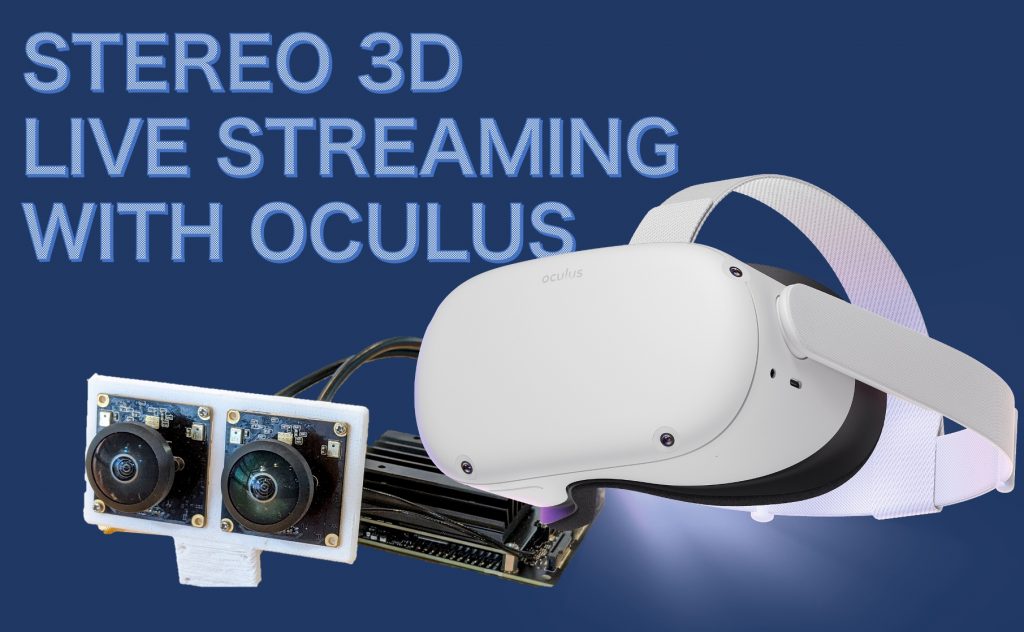
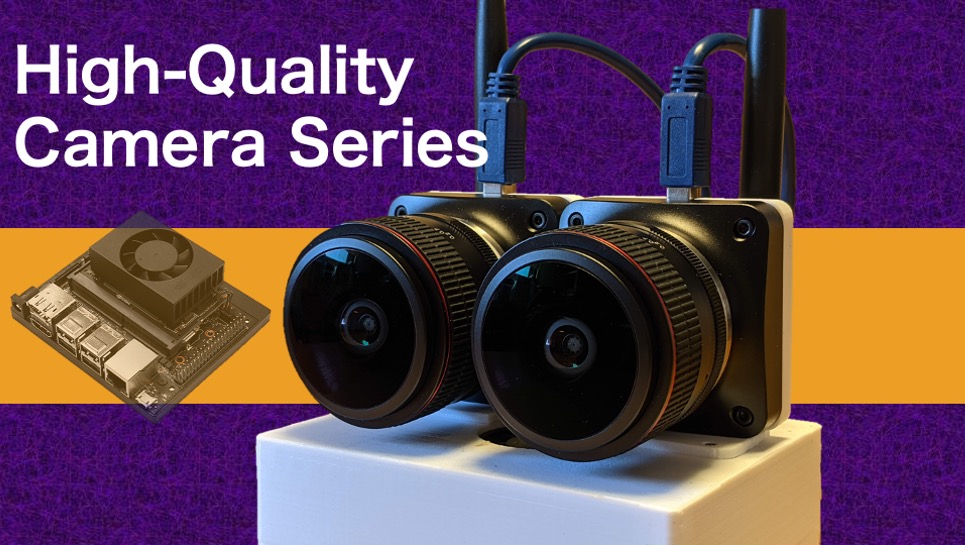
In this article, we used the Jetson Nano as a server device with one camera connected, but there are other variations such as using a Windows machine or Raspberry Pi as a server device, or connecting two cameras to watch stereo 3D. We will introduce them in future articles. Stay tuned.
Series: Start Picam360 with Jetson Nano
- Items for Getting Started, and Notes
- Write Image to the microSD Card
- Install the Server Software
- Camera Calibration
- Install the Viewer App
- Connect
Picam360 Links:
- Web Site: https://www.picam360.com
- Web Store: https://store.picam360.com
- Twitter: https://twitter.com/picam360
- Facebook: https://www.facebook.com/Picam360/