Start Picam360 with Jetson Nano – 2: Write Image to the SD Card
2021-04-20 2021-11-28
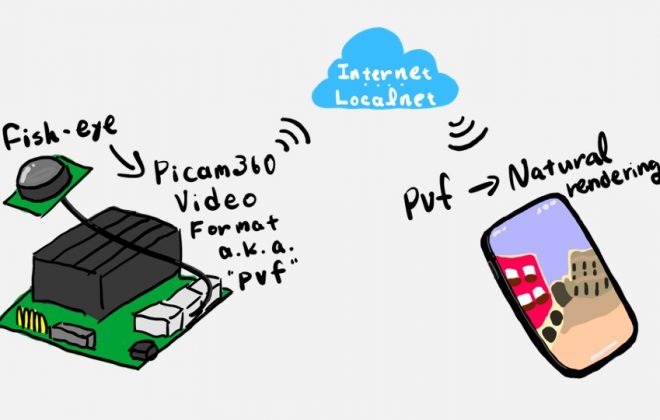
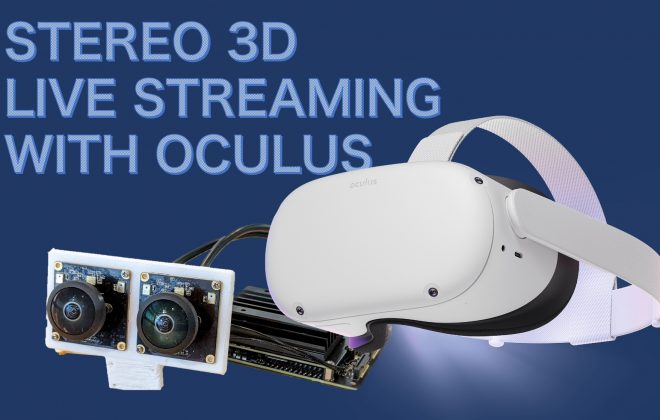
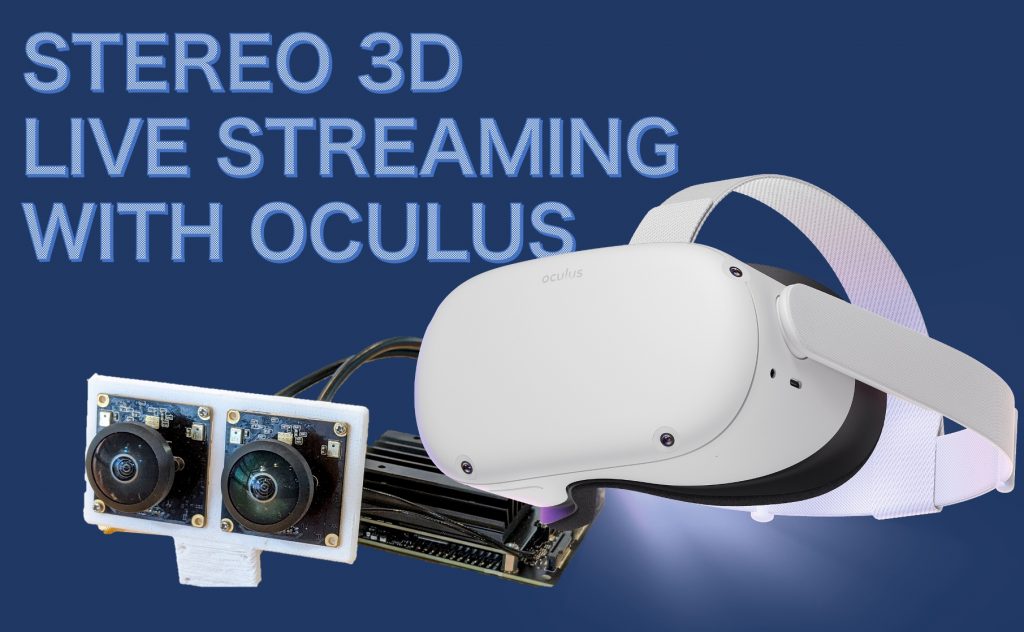
This is the second in a series of articles on how to connect a Picam360 camera to a JetsonNano and stream 360 degree video in real time.
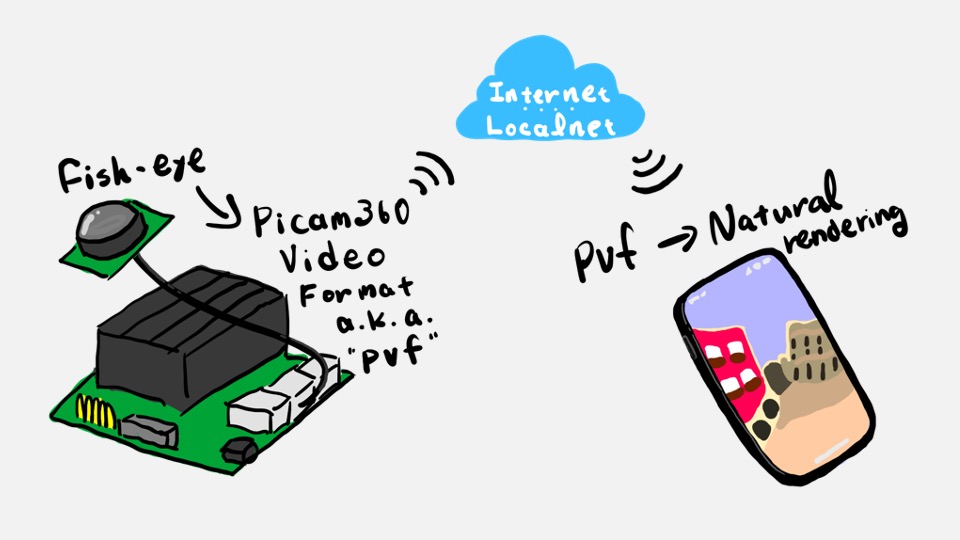
Hi, my name is GAKU from the Picam360 development community.
In my last post, I listed the precautions and what you need. In this article, I’ll show you how to write the Jetson Nano SD card image provided by Nvidia to the SD card, as well as the setup procedure for the first boot.
Write Image to the SD Card
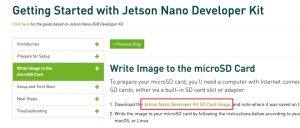
The SD card image for the Jetson Nano is provided by Nvidia. Instructions can be found on Nvidia’s website. Please refer to the website linked below to write the SD card image.
Nvidia: Getting Started with Jetson Nano Developer Kit
Here are the steps to write SD card on Mac for your reference.
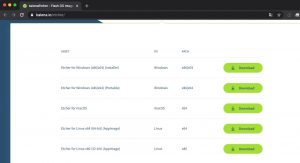
Download the official SD card image from here.
[Tips] From time to time, the official SD card image is updated to a new one. As a result, the Picam360 software may not install or work properly in the updated environment. It is recommended that you use the verified SD card images listed under Verified Environment.
Install Etcher. Download and install it from here.
Start Etcher. You may get the following error when writing. In that case, try to start Etcher from the terminal with administrative privileges.
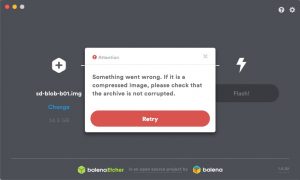
To start Etcher from a terminal with administrative privileges, start a terminal and execute the following command. If you are asked for a password, enter your Mac login password.
$ cd /Applications/balenaEtcher.app/Contents/MacOS/
$ sudo ./balenaEtcher
Insert the SD card into your Mac. If you see the following screen, press Ignore.

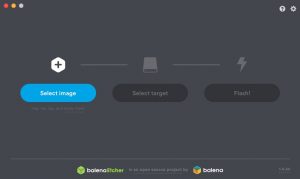
Press Select image on the Etcher screen to select the SD card image file you have just downloaded. Next, select the SD card drive with Select target, and press Flash! to start writing.
After the writing is complete, remove the SD card according to the prescribed procedure in the OS.
First boot
After writing the SD card, the first time you start the Jetson Nano, you will be presented with a configuration screen. This chapter will guide you through that initial setup process.
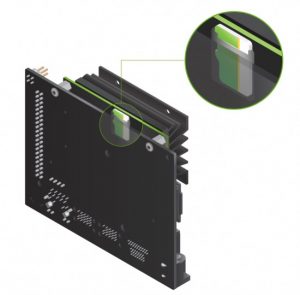
Insert the SD card.
Connect the monitor, keyboard, and mouse.

If you are using a WiFi dongle or LAN cable for network connection, attach them.
Connect the power cable. Startup will begin.

When you first start Jetson Nano with the SD card, you will be prompted with a number of configuration screens. (These screens may be different depending on the version of the SD card image)
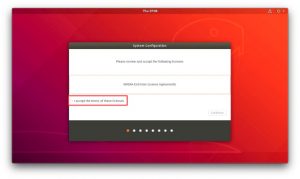
The first screen is the Terms and Conditions screen. Check the box and press Continue.
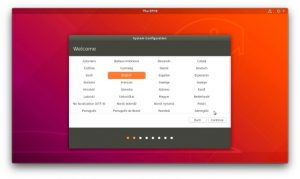
Select the language you want to use and press Continue. Depending on the language selected, the display language will change from the next screen, but the screenshots in this post and the labels of the buttons that appear in the text will be in the default English display.
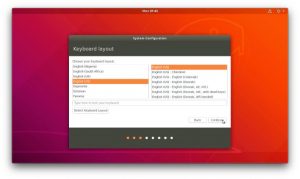
Select a keyboard layout and press Continue. If you don’t know your keyboard layout, click Detect Keyboard Layout in the lower left corner of the screen to have your keyboard layout recognized automatically.
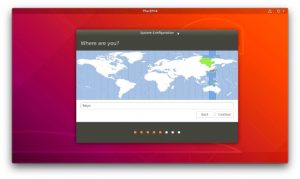
Click on the map to specify the region, and press Continue.
Enter the your name, user name, computer’s name, and password of your choice and press Continue. Make a note of these values as they will be used later.

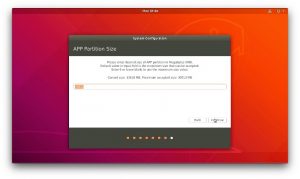
Since the partition of the written SD card image is small, this screen will ask you if you want to change its size. The maximum value should be automatically entered. If there is no particular reason, leave it as it is and press Continue.
Select a power model for the Jetson Nano. The power model is what controls power consumption and performance. On the Jetson Nano, you can choose between 5W and MAXN. 5W saves power, but it also limits performance, which is not enough for the Picam360 software. Here, select MAXN and press Continue. After this, the Jetson Nano will automatically reboot.

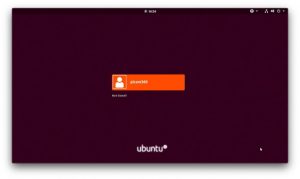
Login with the user name and password you created. This first login will create user directories automatically.
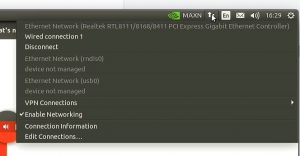
Press the Network Management icon in the upper right corner of the desktop screen and make sure you are connected to the network. If you are connecting via WiFi, this screen will show you the WiFi access point you want to connect to. When you select it, you will be asked for the access point’s password, which you can enter to connect. If the access point is set not to require a password, you will not be prompted to enter a password.
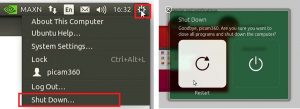
Reboot the system.
This completes the initial startup configuration. Continue next.
Series: Start Picam360 with Jetson Nano
- Items for Getting Started, and Notes
- Write Image to the microSD Card
- Install the Server Software
- Camera Calibration
- Install the Viewer App
- Connect
Picam360 Links:
- Web Site: https://www.picam360.com
- Web Store: https://store.picam360.com
- Twitter: https://twitter.com/picam360
- Facebook: https://www.facebook.com/Picam360/