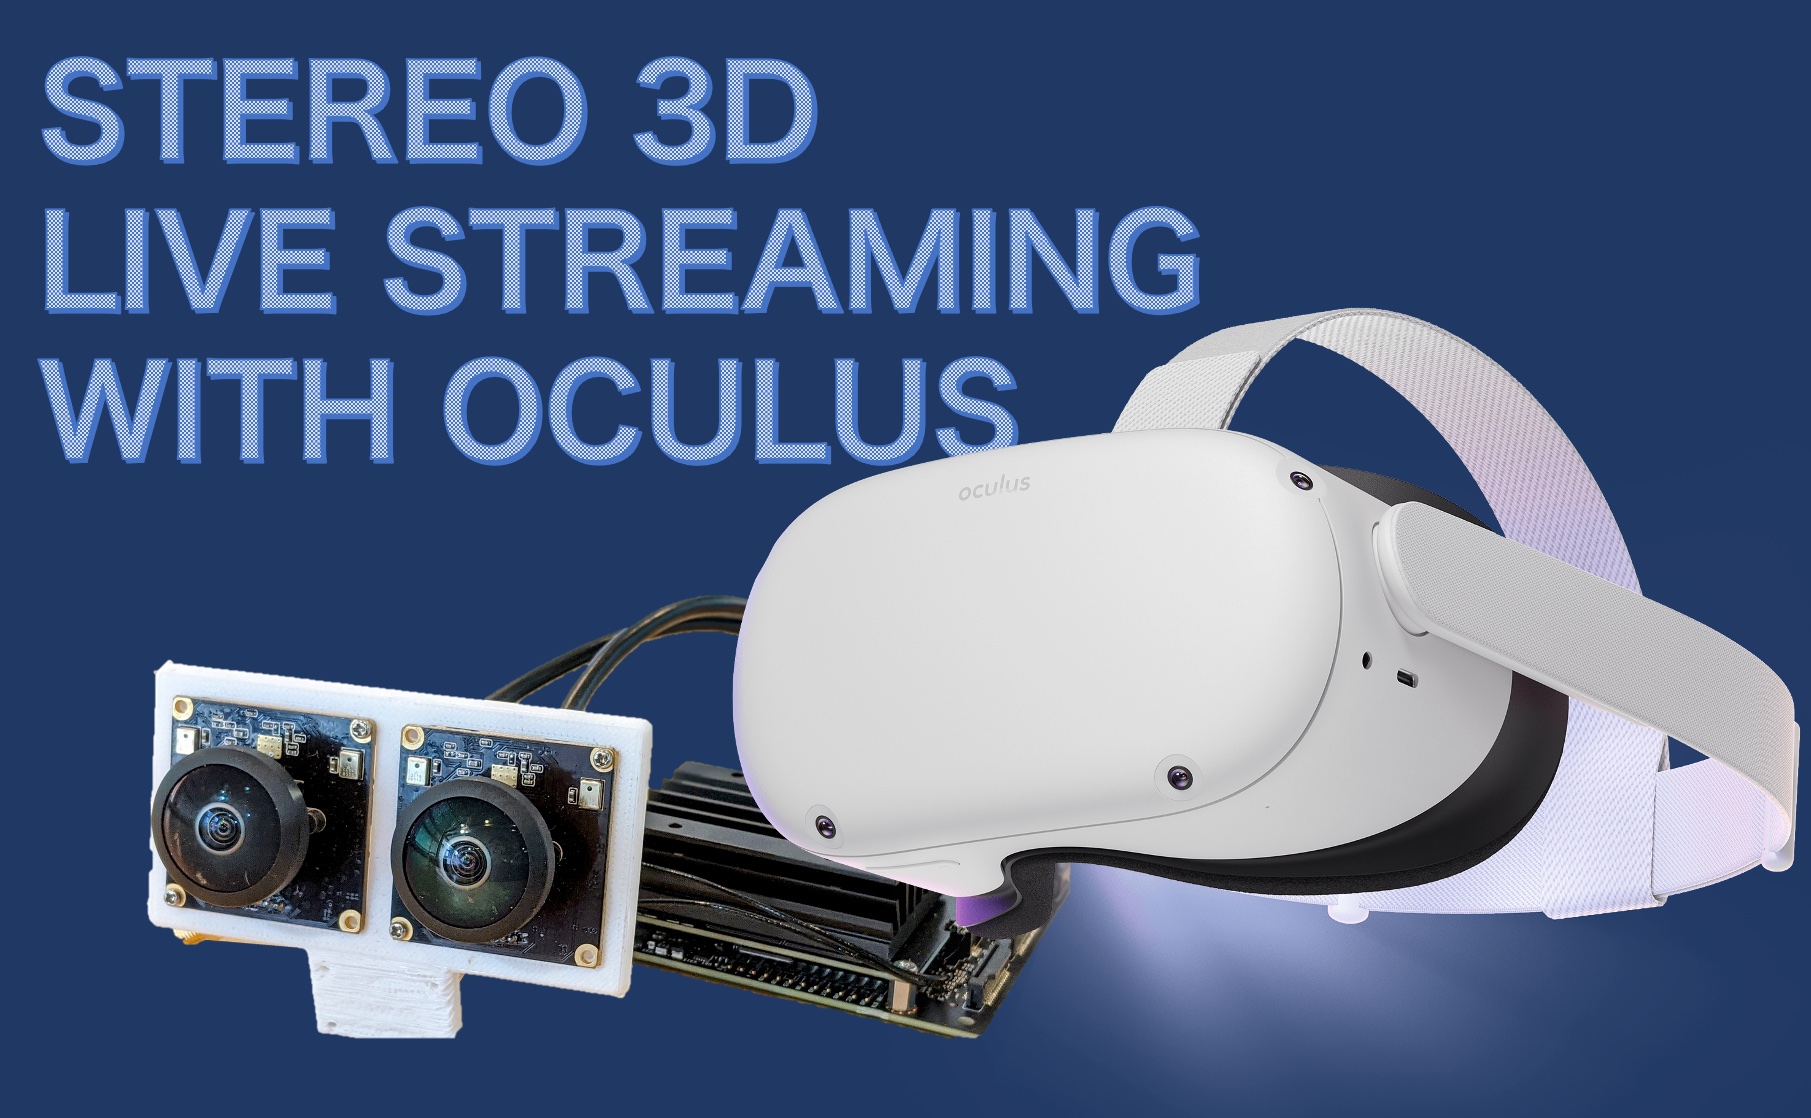
Live streaming 8K panoramic video to Oculus Quest2
2022-01-06 2022-01-06
Let’s try to watch 3DVR live video of Picam360 set to a stereo camera with Oculus Quest2. This article will show you the procedure.
Hello, my name is GAKU from the Picam360 development community.
I’m going to try to watch 3DVR live video of Picam360 set to a stereo camera with Oculus Quest2. In this article, I will introduce the procedure.
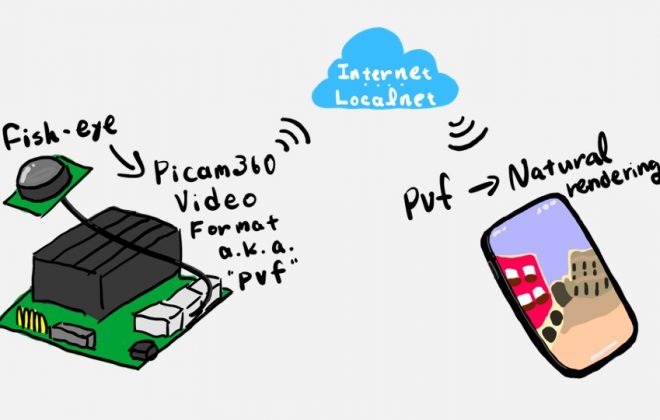
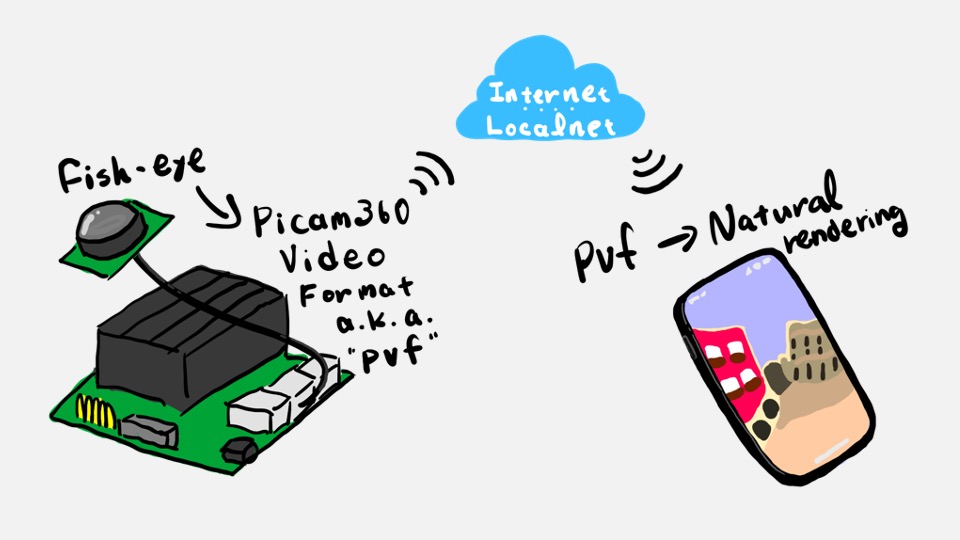
The 8K in the title comes from the combined resolution of the two 4K Picam360 cameras. That’s a bit of a sneaky way of writing it, but since the resolution of VR headsets sold in general is often described as the combined resolution of both eyes, I tried to match that description.
Setup Flow
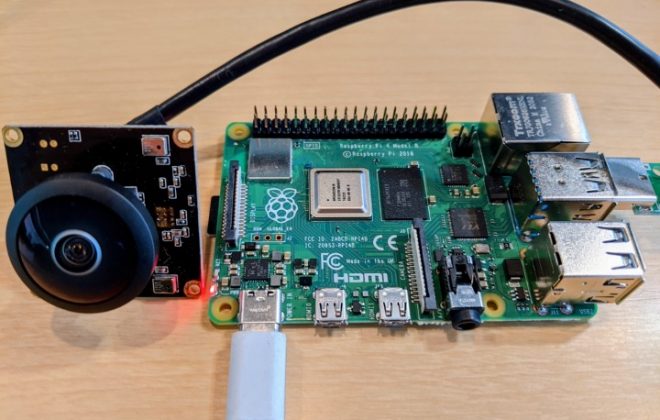
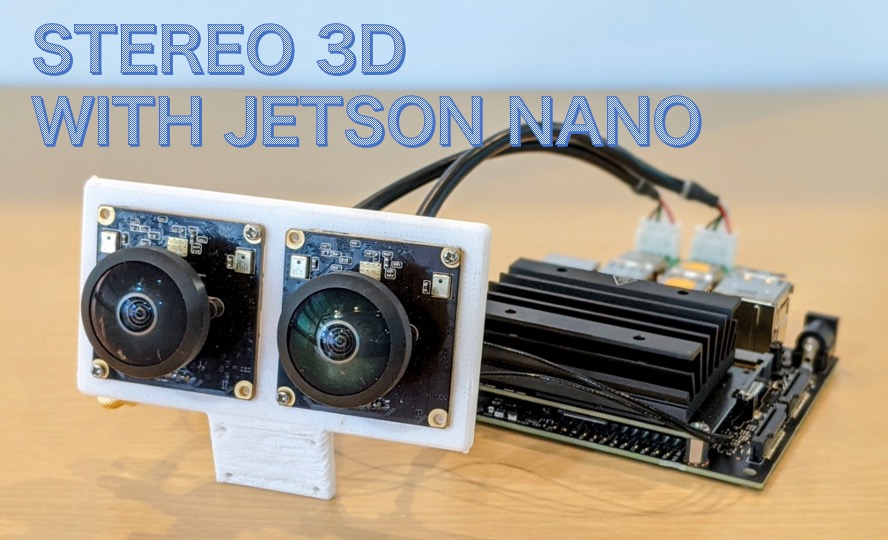
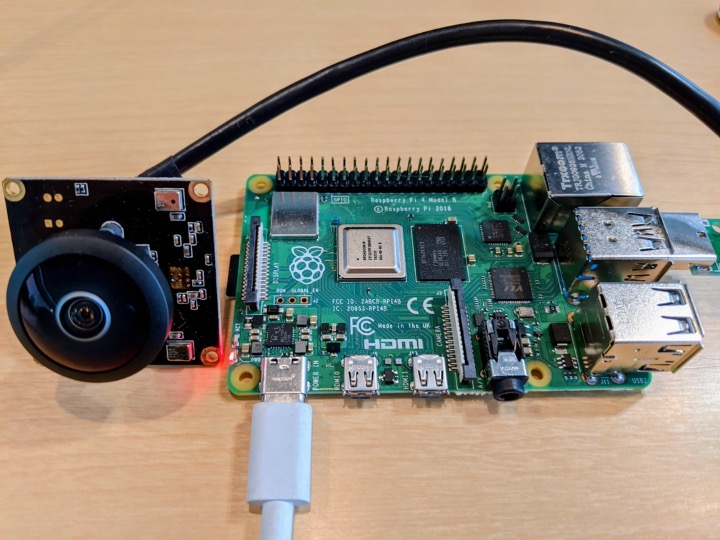
1: Set up two Picam360 cameras and a Jetson Nano as stereo cameras
2: Build and install the PViewer app for Oculus
3: Live-Stream
Since the procedure for No.1 has been introduced in the previous article, the main content of this article is No.2, the procedure for building and installing the PViewer application for Oculus.
Items used in the project
- Camera: PICAM360-4KHDR x 2
- Server Device: Jetson Nano
- Viewer Device: Oculus Quest2
- PC to build the app:Mac or Windows or Linux
In this article, I will use a Mac for the build, but it is almost the same for Windows and Linux.
Set up two Picam360 cameras and a Jetson Nano as stereo cameras
For instructions on how to set up a stereo camera, please refer to the following article.
Live streaming of stereo fisheye camera video with Jetson Nano
Build and install the PViewer app for Oculus
The PViewer for Oculus uses unity, so the process is to set up a Unity project and build it for Android.
Go to the unity website and install Unity Hub. Make sure you install the one that matches the platform you are using.

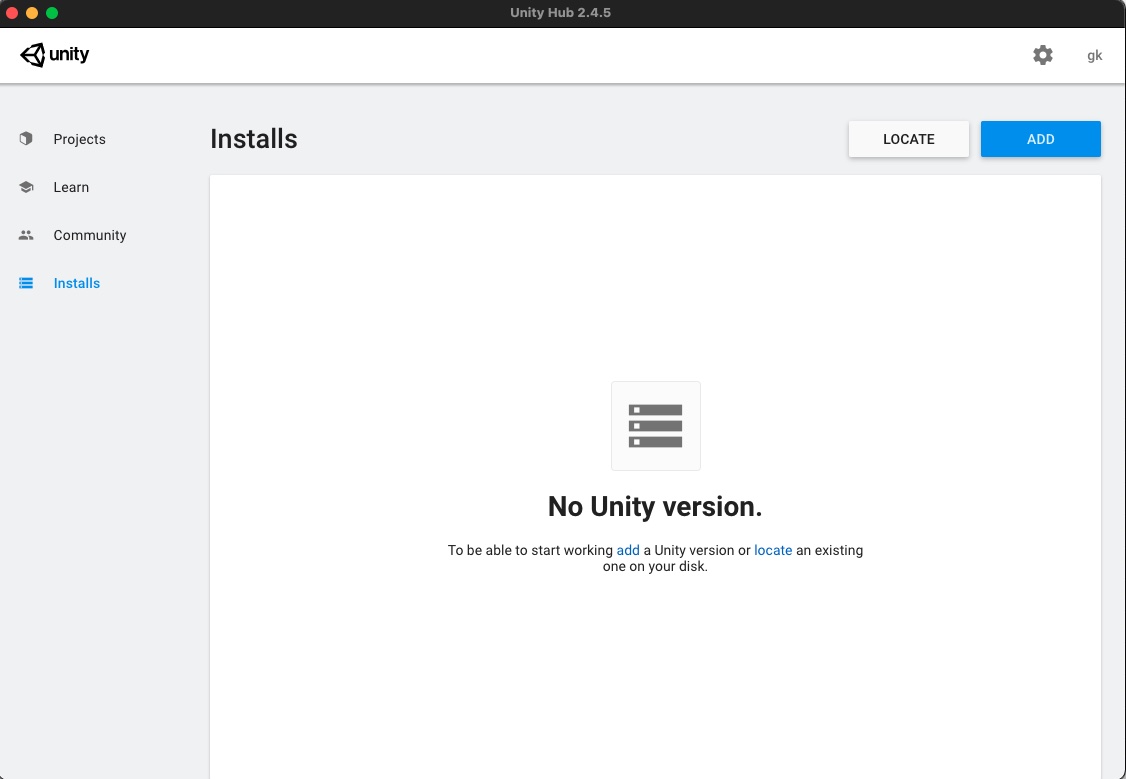
After the installation is complete, launch Unity Hub.
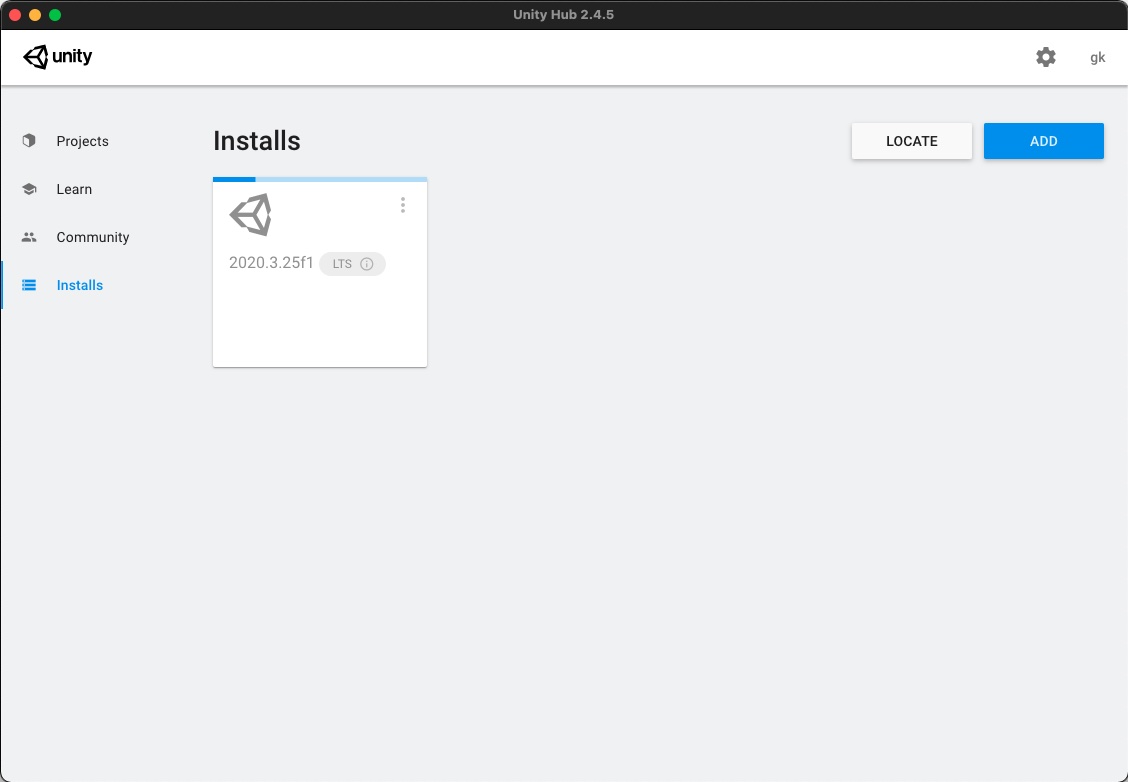
Select Installs from the list on the left of the screen and press ADD.
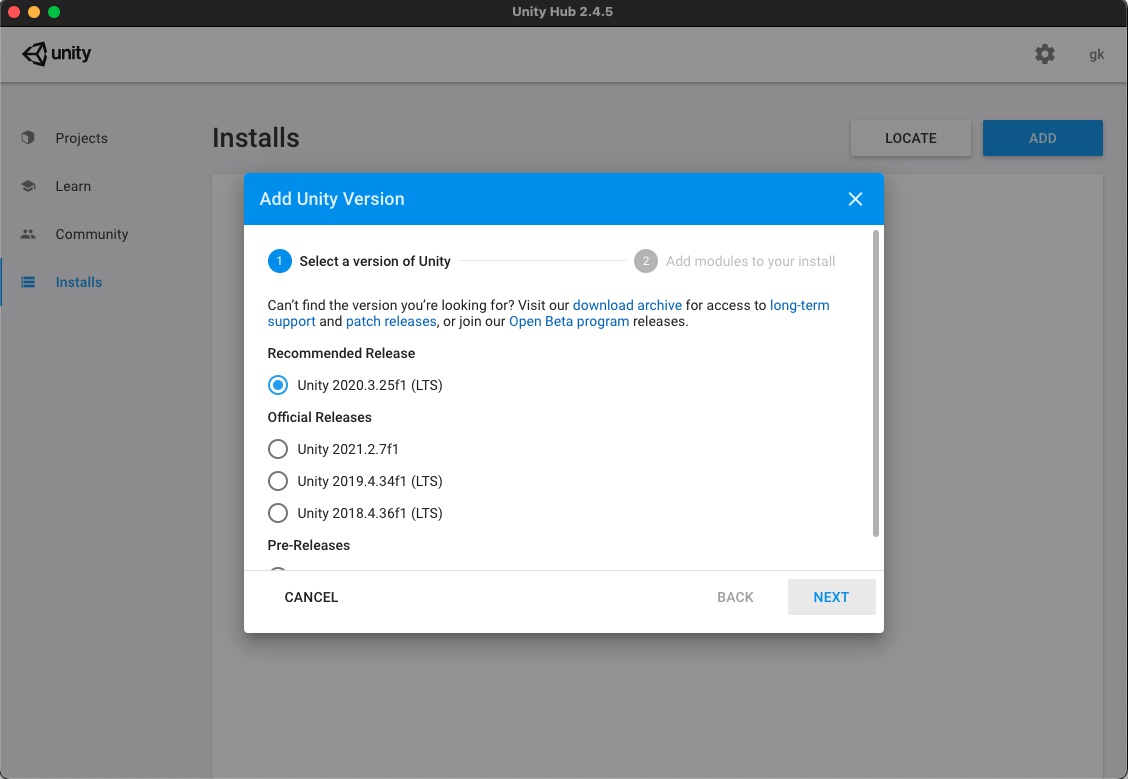
Select LTS (Long Time Support). Basically, the latest LTS is fine, but different versions may cause the build to fail, so if there is no particular reason, select Unity 2020.3.25f1 (LTS).
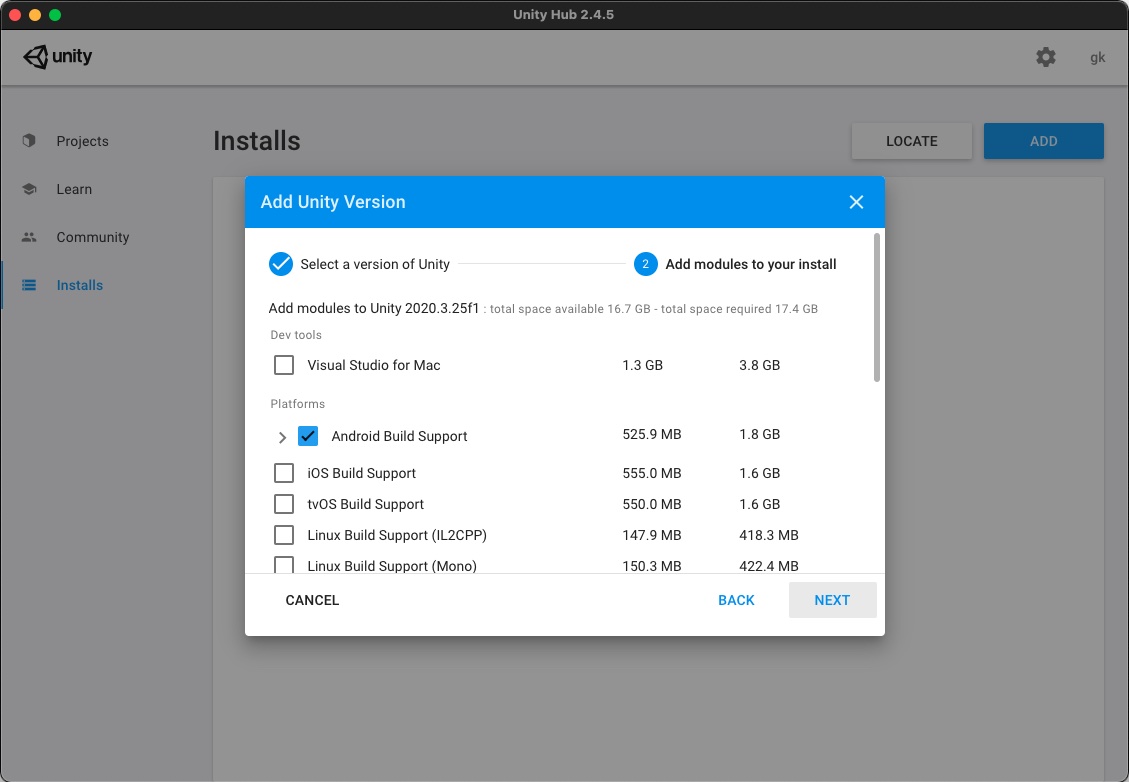
Check Android Build Support.
Wait for the installation to complete.
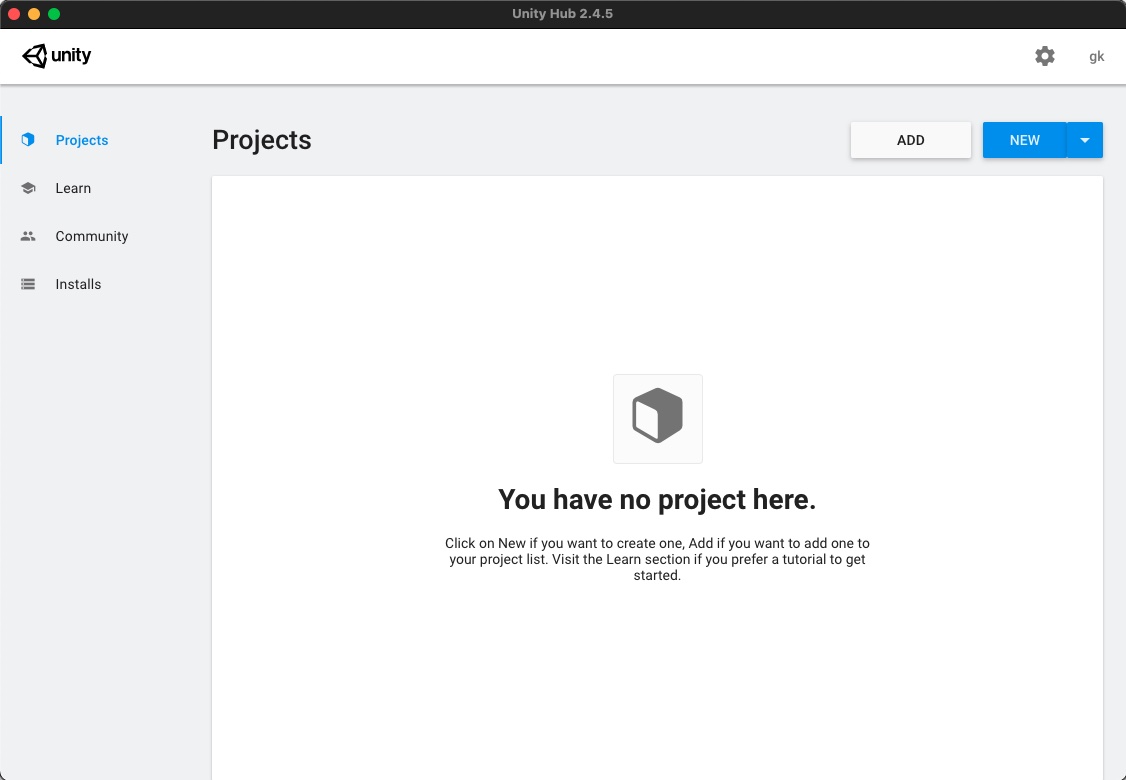
Select Projects in the menu and press NEW.
Set the Project Name and Location to your liking and proceed.
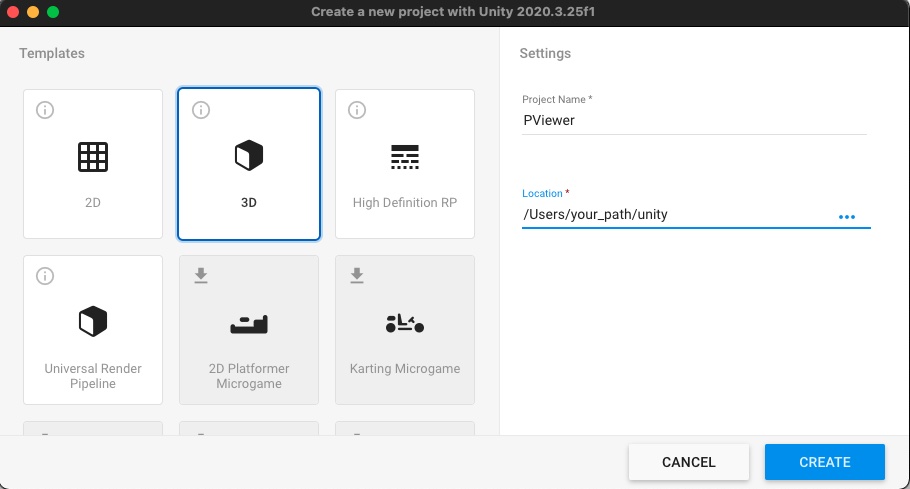
After you have completed creating a new project, the Unity editor screen will automatically open.
[ Import Oculus Integration ]
Open App Store from the menu.
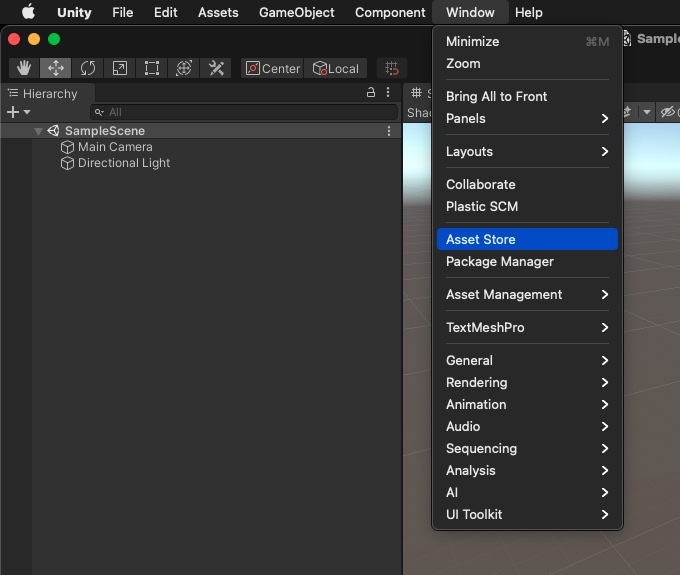
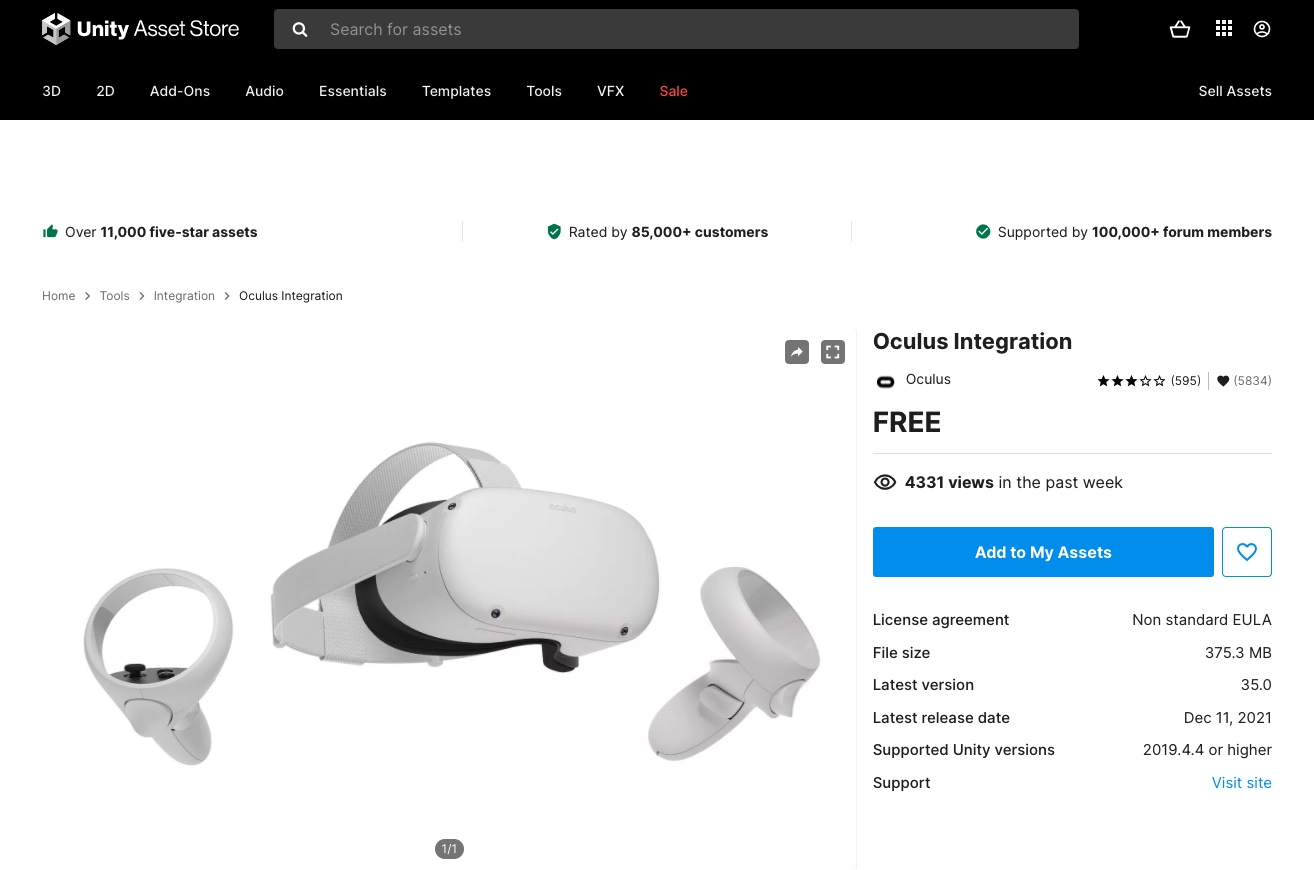
This will open a website in your browser. Type Oculus in the search box and look for Oculus Integration.

Select Oculus Integration and press Add to My Assets.
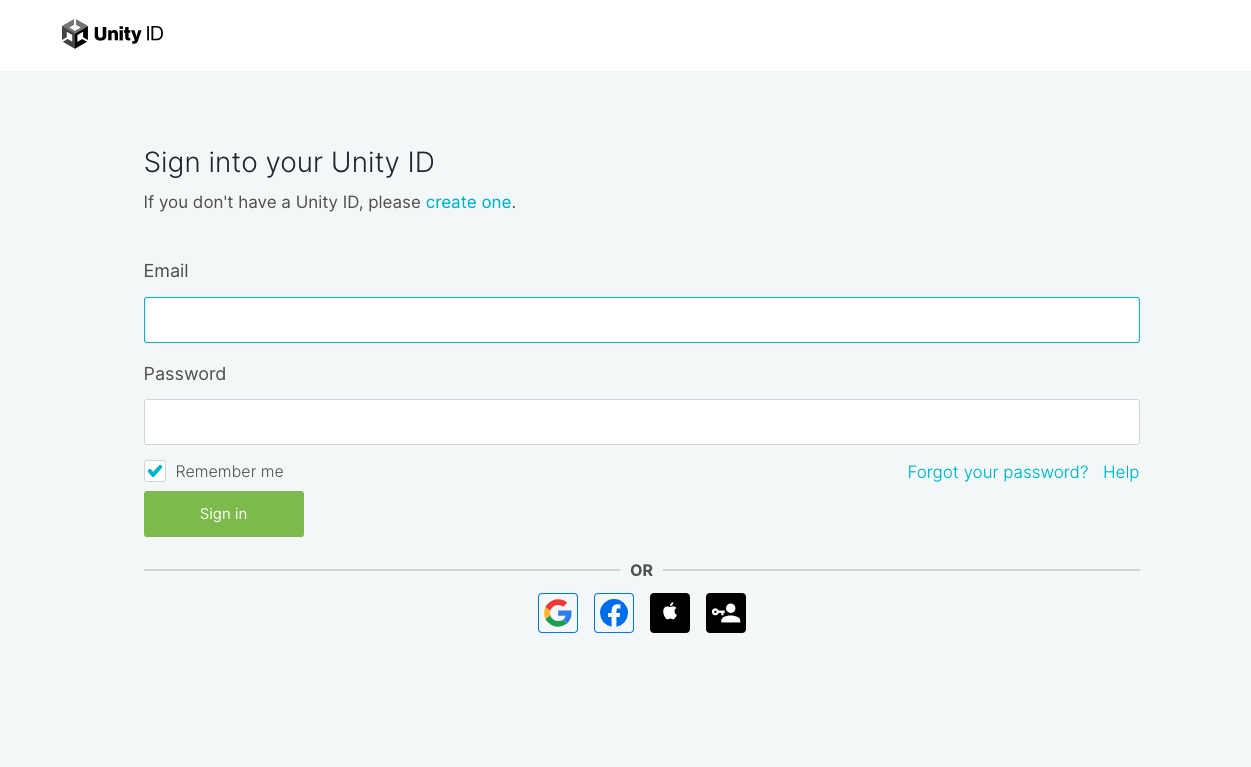
You will be asked to log in. If you do not have an account, you can create one here and log in.
The button will change to Open in Unity. Press the button to return to the editor screen.

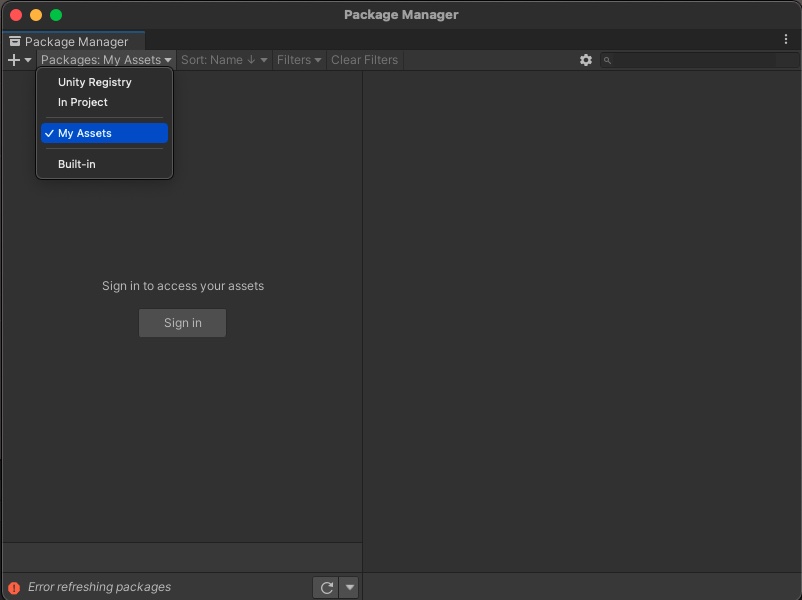
Open Package Manager from the menu.
Select My Assets and log in.
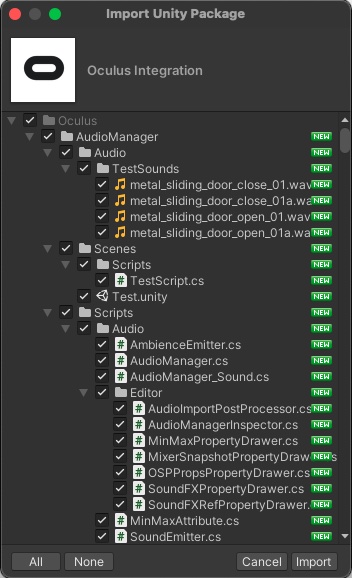
The Oculus Integration you just added will be displayed, and press Import.
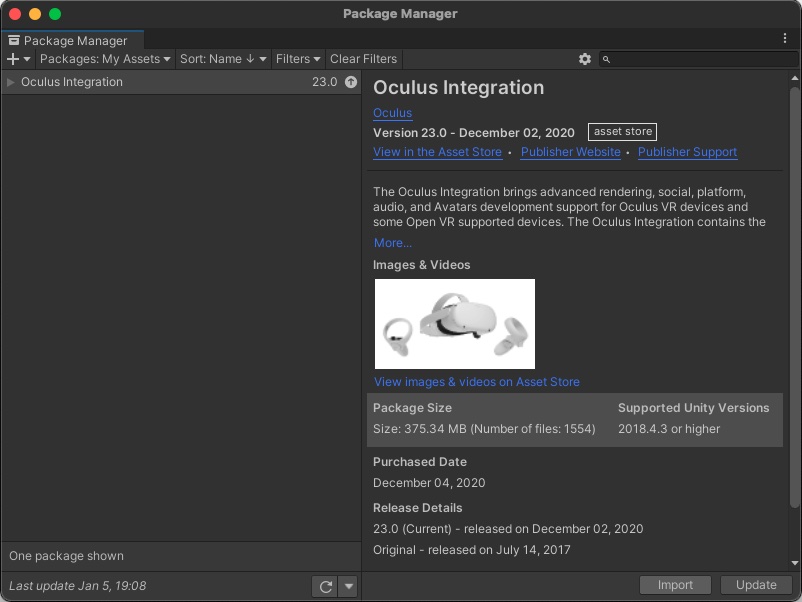
The items to be imported will be displayed. Press Import without making any changes.
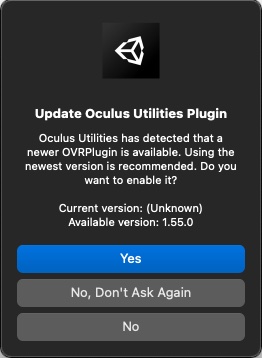
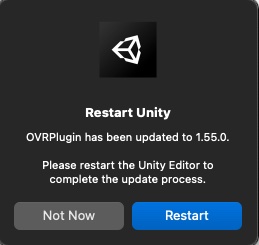
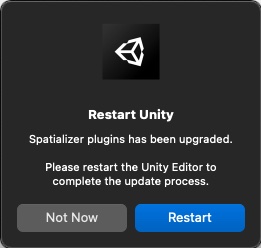
You may be prompted to update the plugin. Press Yes, and then press Restart when asked.
[ Importing PViewer Pacakge ]
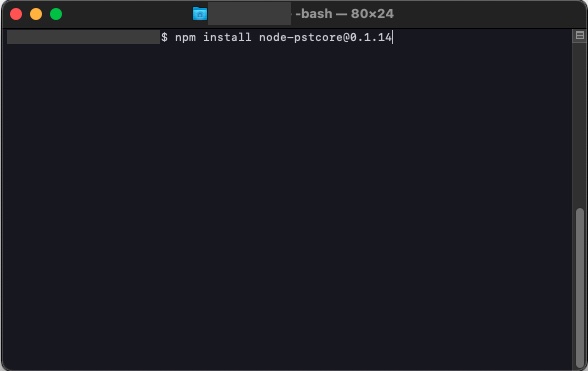
Download node-pviewer. Open a terminal, navigate to the appropriate directory, and execute the following command.
$ npm install node-pstcore@0.1.14
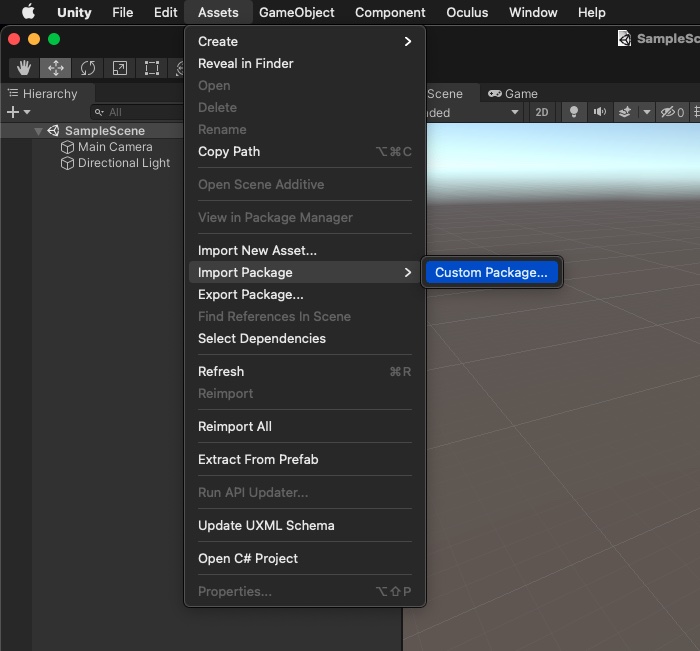
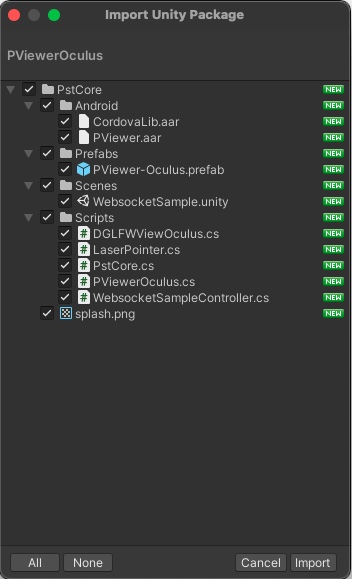
Import the PViewerOculus.unitypackage included in node-pstcore into your project. Press Assets > Import Package > Custom Package from the menu.
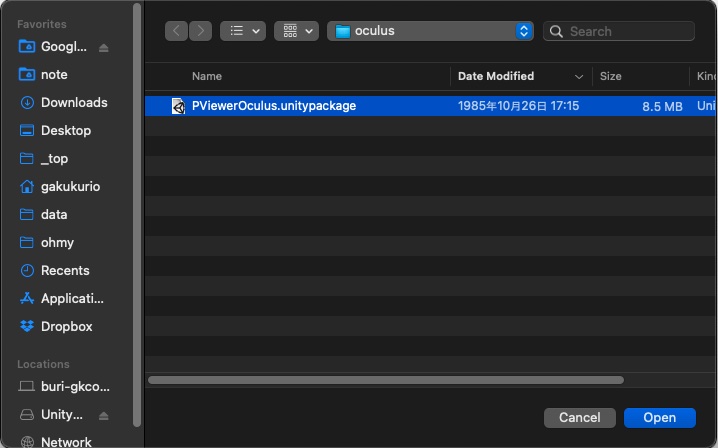
Select the PViewerOculus.unitypackage included in the downloaded node-pstcore and import it.
File Location:
/YOUR_PATH/node_modules/node-pstcore/lib/oculus/PViewerOculus.unitypackage
The items to be imported will be displayed. Press Import without making any changes.
Select Assets > WebsocketSample and press Open.
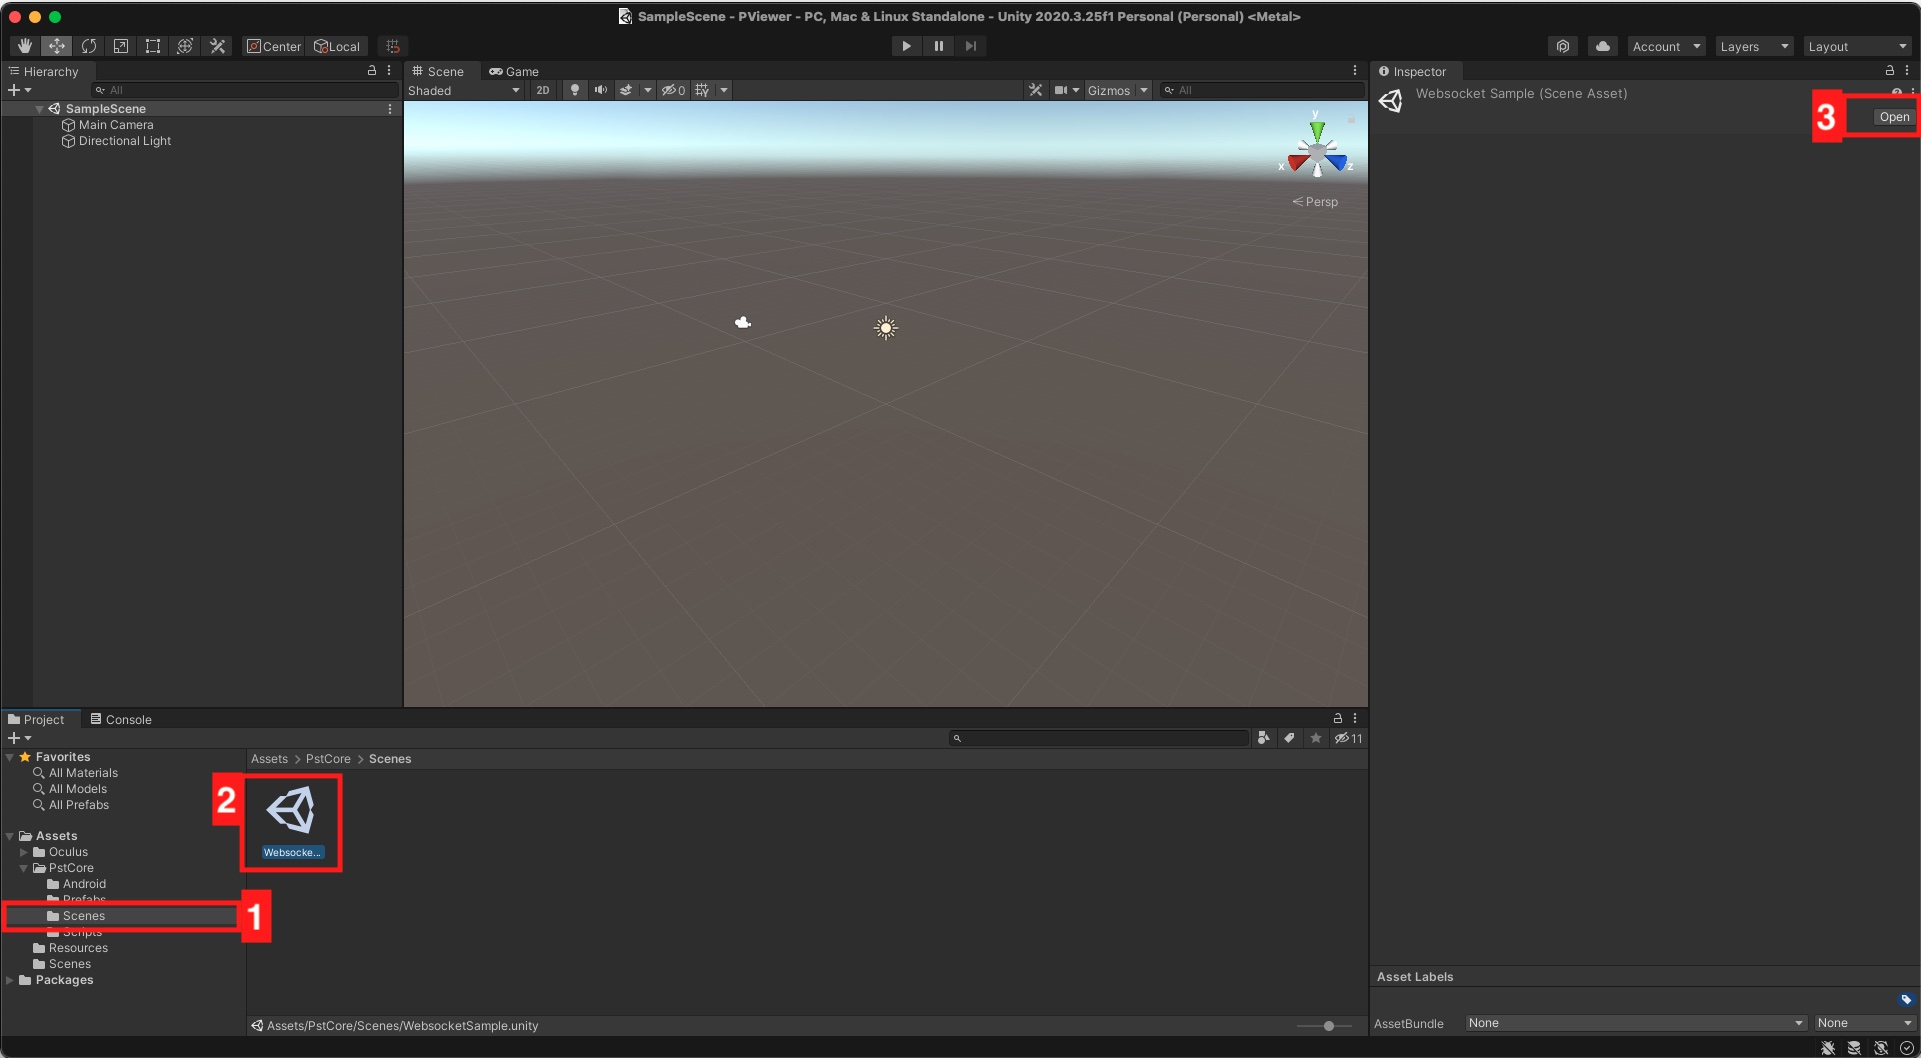
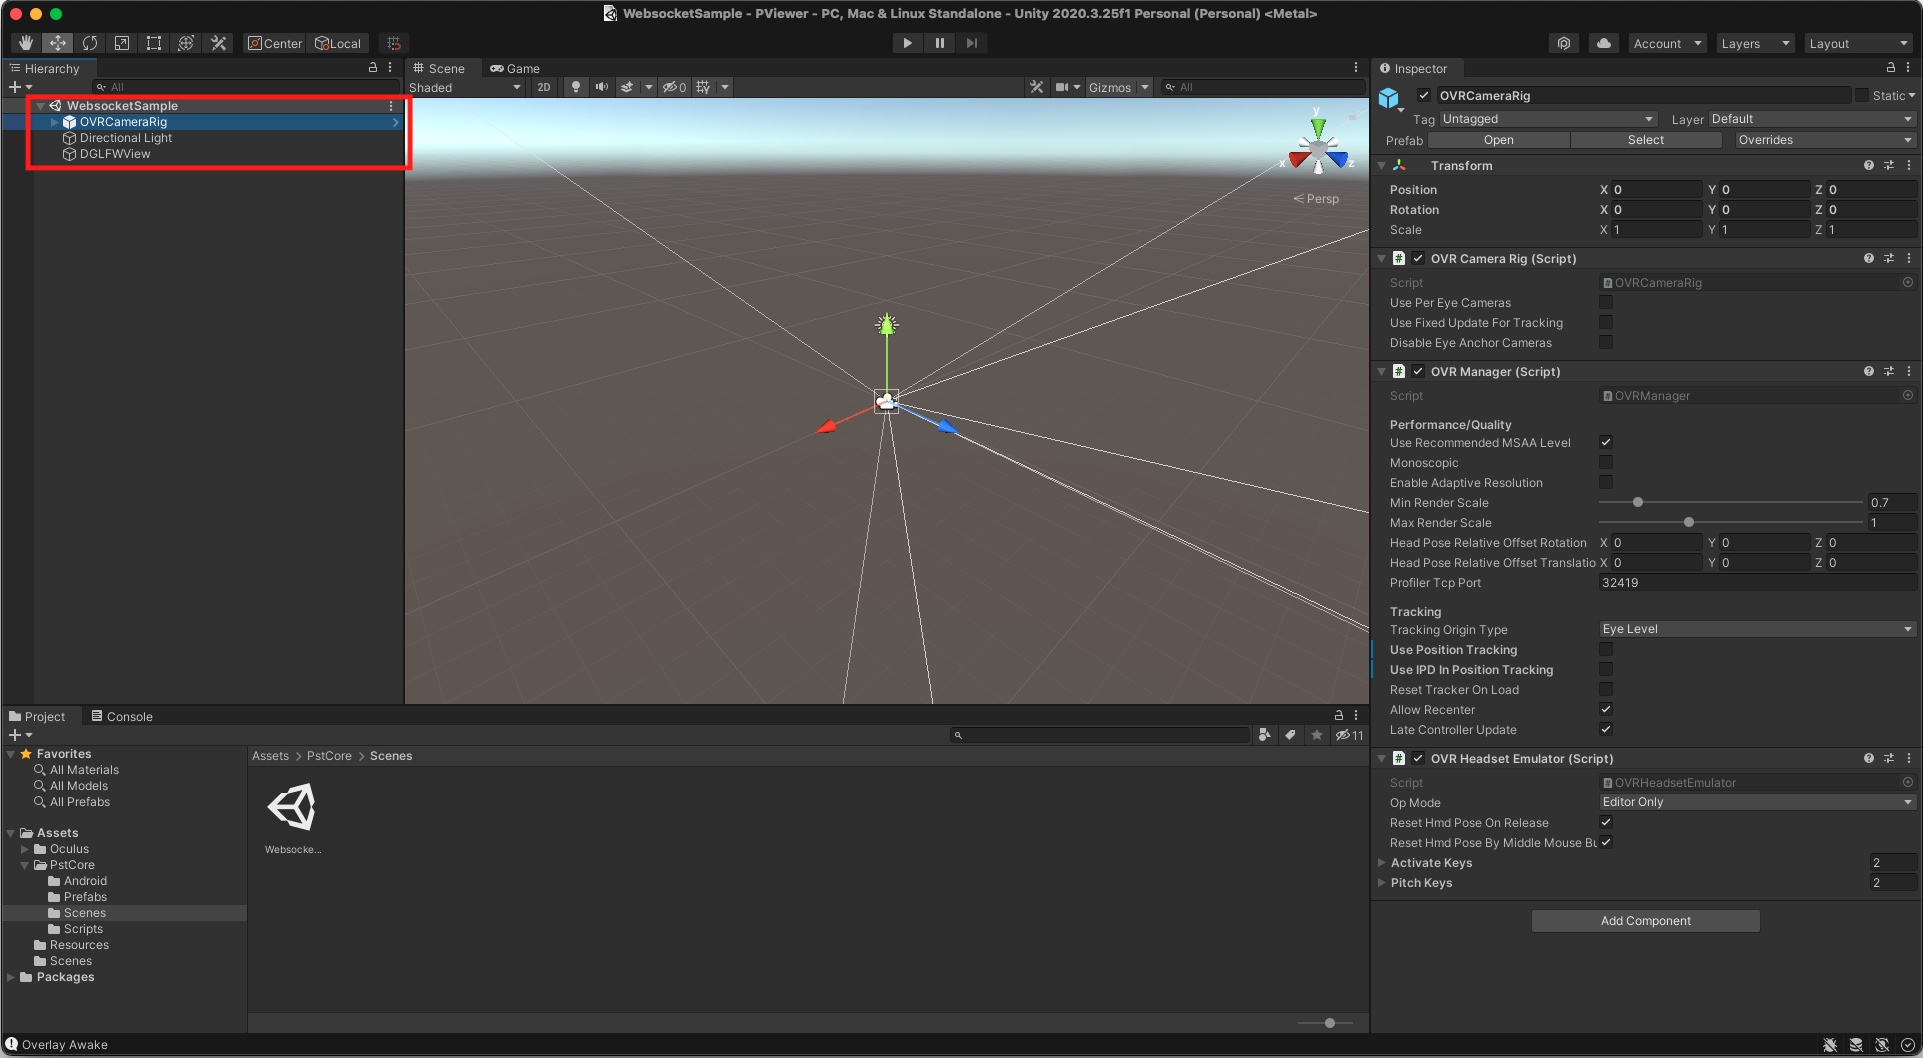
WebsocketSample will appear in the tree view.
Select Assets > Scripts and press Open.
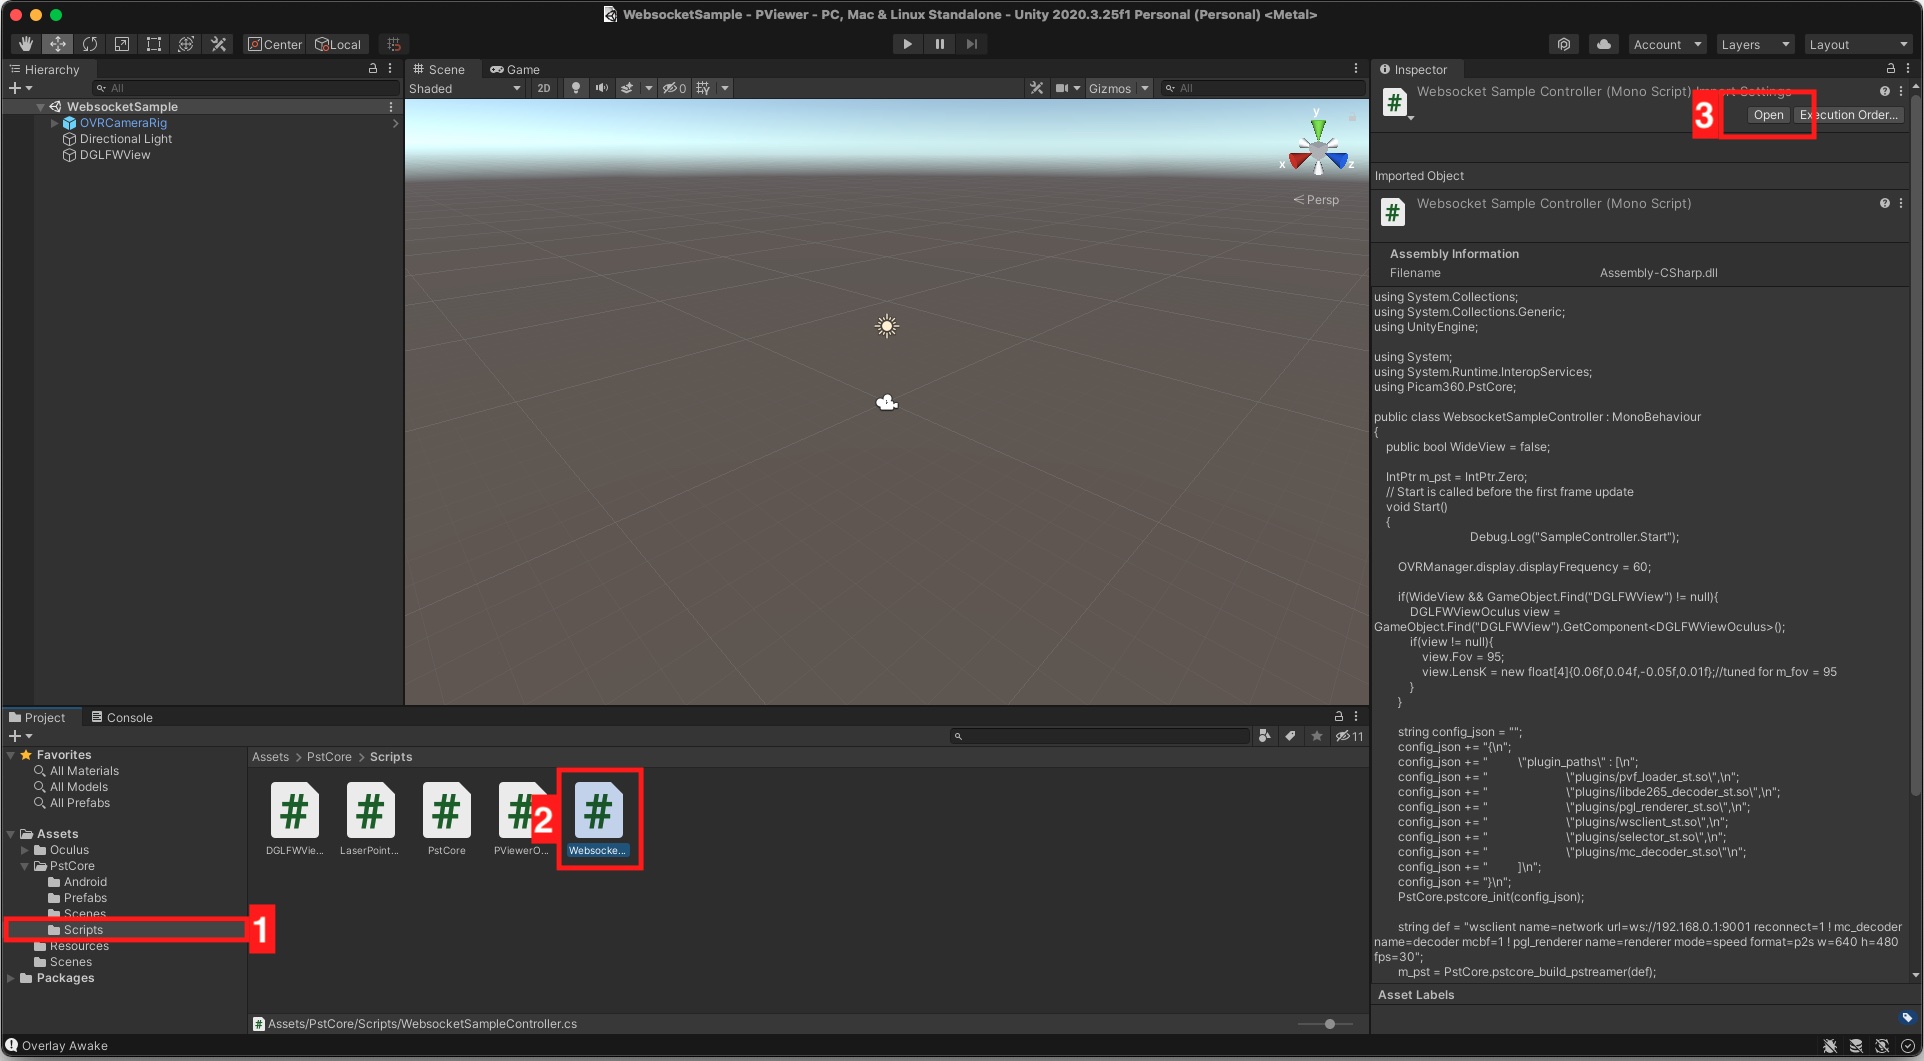
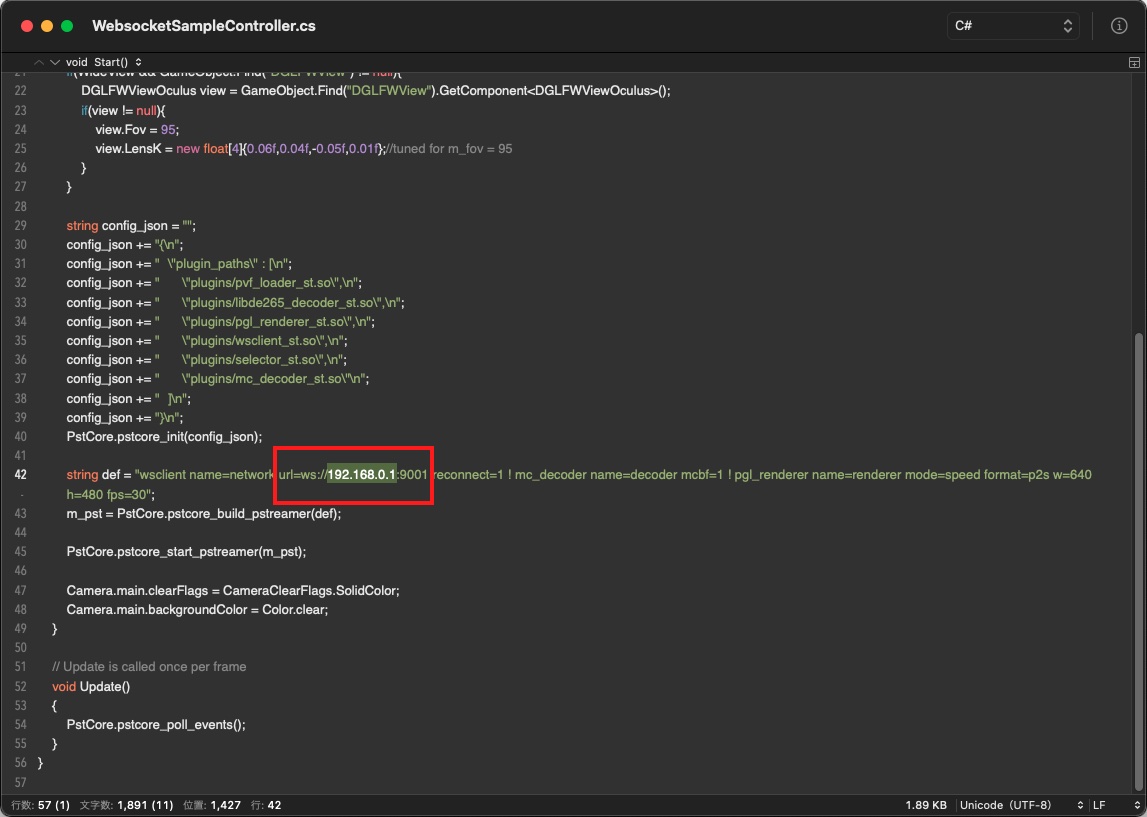
If you want PViewer app to automatically connect to the server device and start streaming when the app starts, change the IP address to the IP address of the server device and save the file.
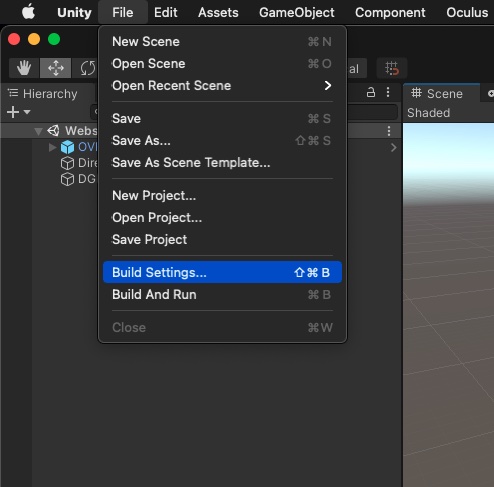
[ Change Build Settings ]
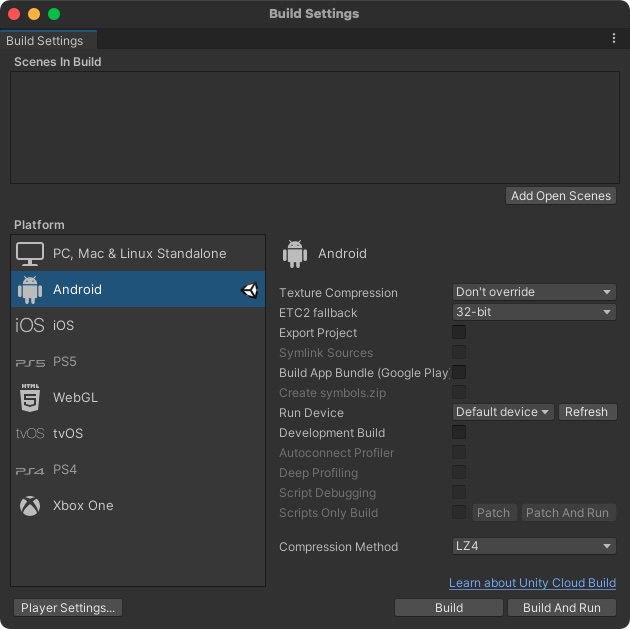
Open Build Settings.
Select Android, and press Switch Platform.
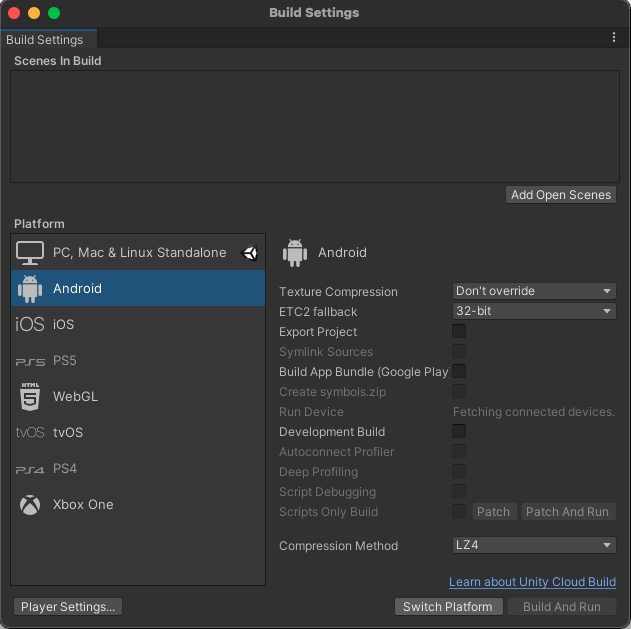
Next, press Player Settings in the lower left corner of the same Build Settings screen.
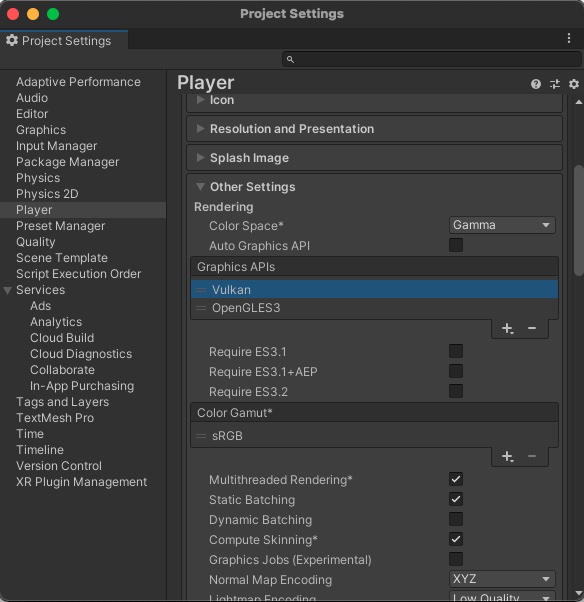
Select Valkan in Player > Graphics APIs and press the “–” to remove it.
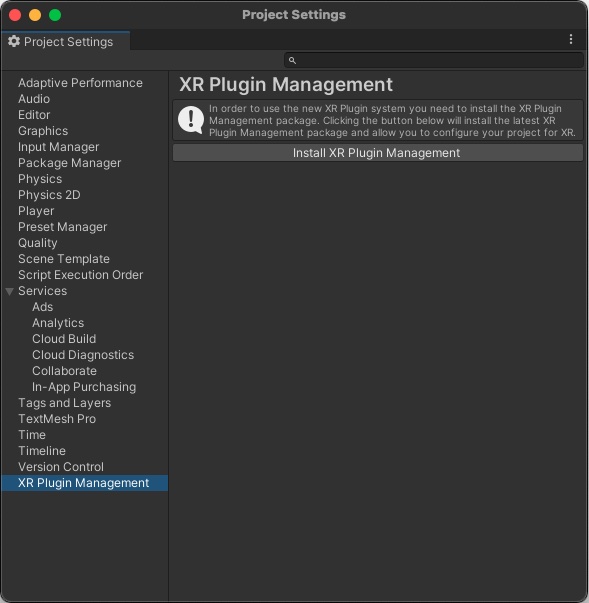
Select XR Plugin Management and press Install XR Plugin Management.
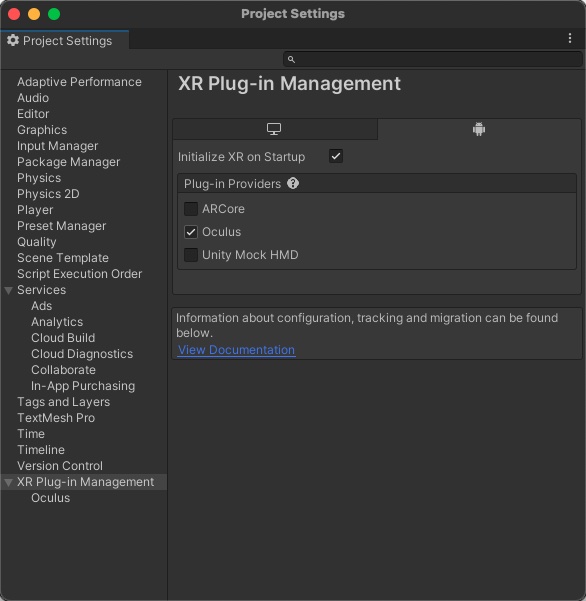
Check Oculus.
[ Build and install ]
Connect your PC and Oculus Quest2 with a USB cable.
Open Build Settings and press Build And Run. Then the build will be executed and the app will be installed.
Live-Stream
Run the installed PViewer on Oculus Quest2.
If there is a server device on the same network as Oculus Quest2 and the IP address of the server device matches the IP address specified in the Unity project settings, the app will automatically connect to the server device and start streaming when it starts.
If you want to specify the connection destination manually, the procedure is the same as the normal connection procedure. Please refer to the following article to make the connection.
That’s it for this post. See you soon.
Picam360 Link:
- Web Site: https://www.picam360.com
- Web Store: https://store.picam360.com
- Twitter: https://twitter.com/picam360
- Facebook: https://www.facebook.com/Picam360/