Start Picam360 with Jetson Nano – 4: Camera Calibration
2021-05-11 2023-10-18
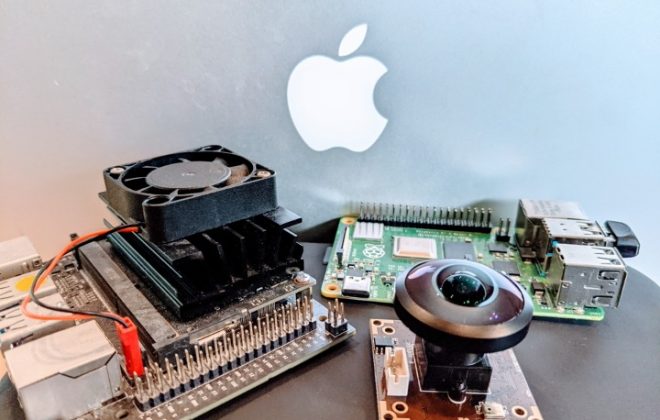
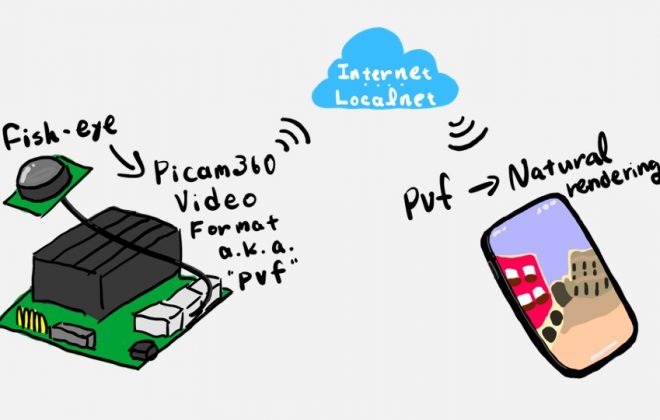
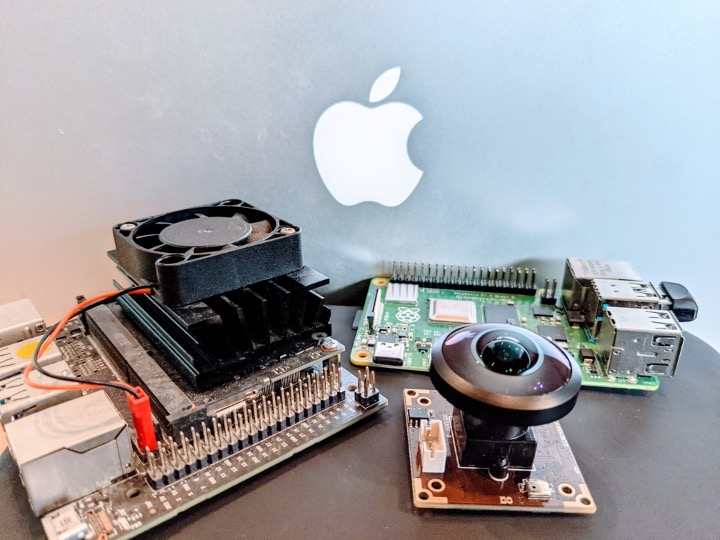
This is the 4th in a series of articles on how to connect a Picam360 camera to a JetsonNano and stream 360 degree video in real time.
Hi, my name is GAKU from the Picam360 development community.
In my previous post, I explained the procedure to install the server software PServer. This time, I will show you the procedure to calibrate the camera.
What to calibrate?
The Picam360 as shipped is in an unadjusted state. As it is, you can take pictures, but you won’t get a clean image. It is necessary to adjust the physical misalignment and measure the condition of the lens to teach the software.
Focus adjustment:
The focus is not adjusted in the factory default state, so adjust the focus.
Position of the lens relative to the image sensor:
The lens is slightly misaligned with respect to the image sensor of the camera. The software measures the amount of misalignment and corrects the center of the image.
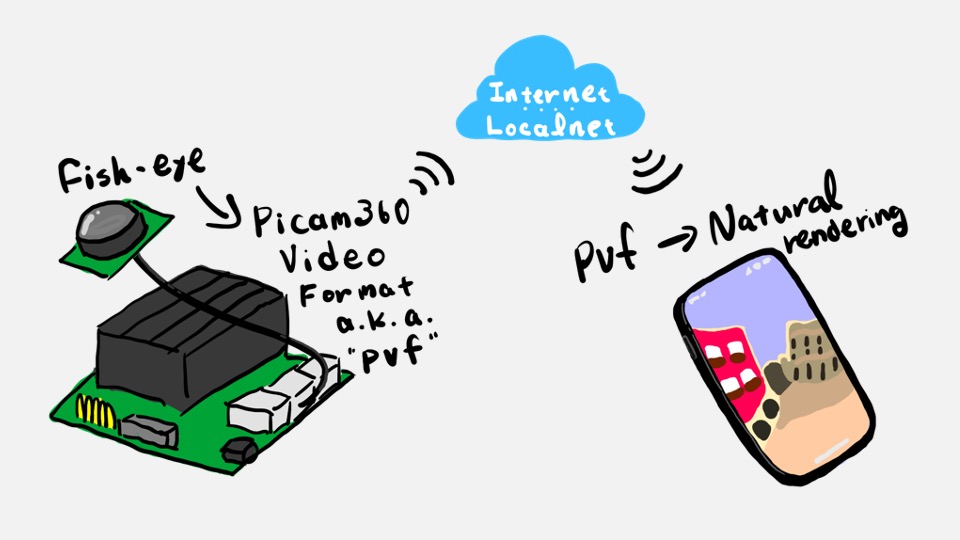
Lens distortion correction:
Fisheye lenses distort in different ways depending on their position in the lens. It is a characteristic of the lens and varies from lens model to lens model, and even within the same model there are minute individual differences. The distortion is measured and taught to the software. The software uses this information to correct the image so that it looks natural to the human eye.
When should calibration be performed?
Calibration is required before the first use. It is recommended that calibration be performed periodically, as focus and other deviations may occur due to transportation.
Camera Calibration Procedure
Now let’s go through the procedure of calibrating the camera. Again, calibration is required before the first use after installation. Without calibration, the camera will not work.
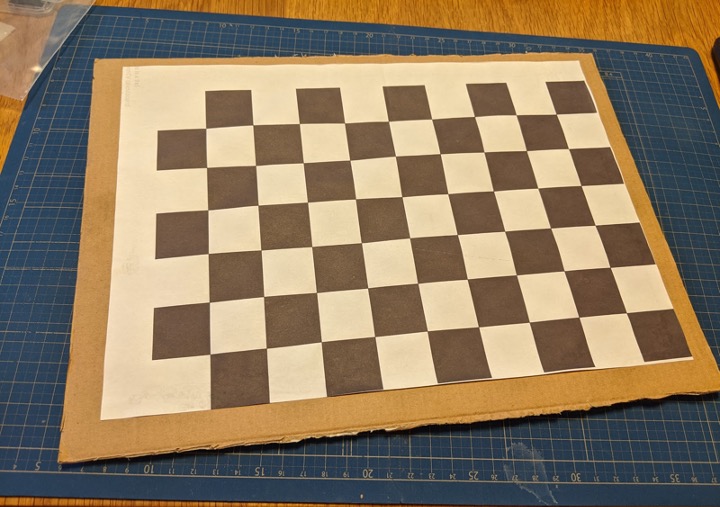
Prepare the checkerboard:
Download the checkerboard pattern file from the link below. Print the file at a printing magnification of 100% and paste it on a flat, hard board such as cardboard.
Once the checkerboard is ready, the calibration procedure begins.
Connect the monitor, keyboard, and mouse. Calibration cannot be performed over an ssh connection.

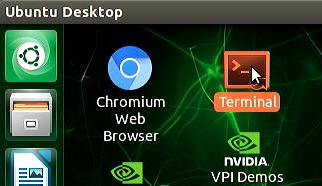
Open a terminal.
Delete the old calibration file.
Use the following command to display the path of PServer and copy it.
$ which pserver
# ex)
# /home/picam360/.nvm/versions/node/v14.17.0/bin/pserver
Rewrite the path under the node version directory as shown below, and execute the following delete command. If the file does not exist, an error ‘No such file or directory’ will be displayed, but there is no problem.
$ rm /home/USER_NAME/.nvm/versions/node/v14.17.0/lib/node_modules/node-pserver/lens_params.json
Execute the calibration mode. After executing the command, a screen will appear.
$ cd ~/pserver
$ pserver --calibrate=640x480@30:/dev/video0
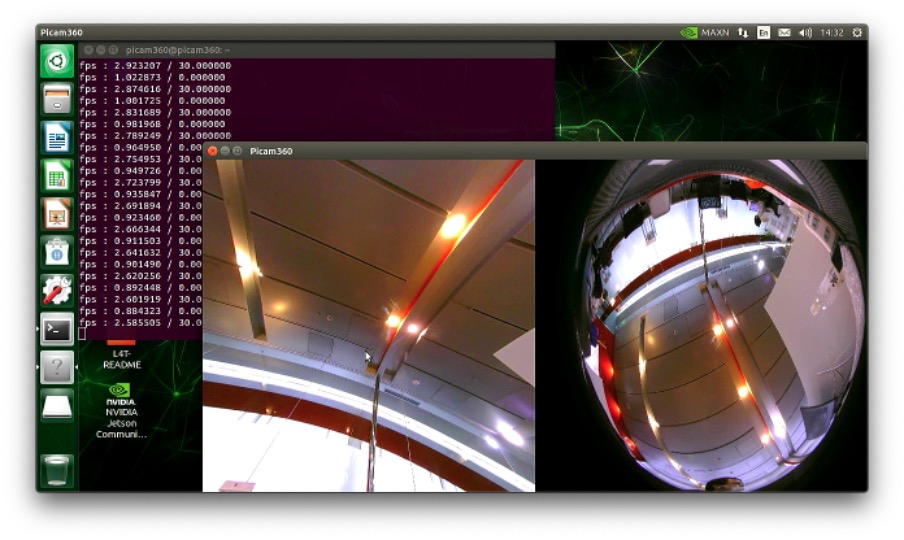
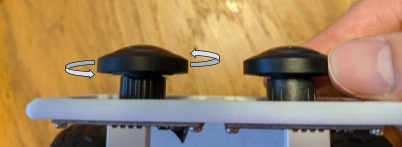
Adjust the focus while looking at the screen. Place something nearby and turn the lens while watching the image to fix it at the position where the focus is best.
The checkerboard is used to register the calibration information.
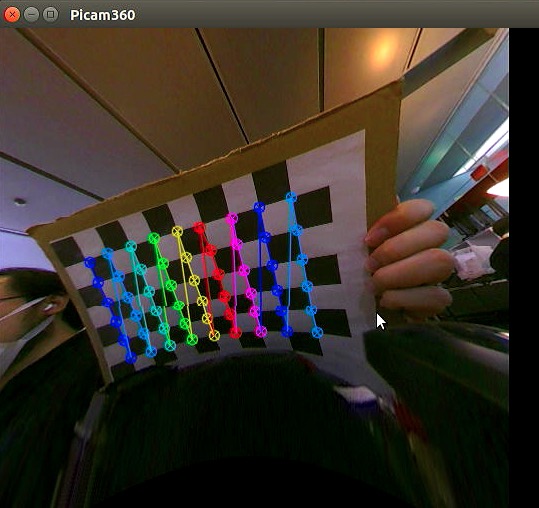
Place the checkerboard in the camera’s field of view. Drag the left screen with the mouse to change the direction of the view, and move the view to the position where the checkerboard is captured. When the checkerboard is recognized, multiple rainbow-colored circles will appear.
Tip: If you have trouble recognizing the checkerboard, light up the surface by shining your smart phone’s light on it to make it easier to recognize.
Press the A key on the keyboard to register the position of the recognized rainbow circles. The position of the last recognized rainbow circles is memorized, so it is OK even if the rainbow circles is not displayed on the screen when you press the A key. The registered position will be shown as green circles on the right screen.
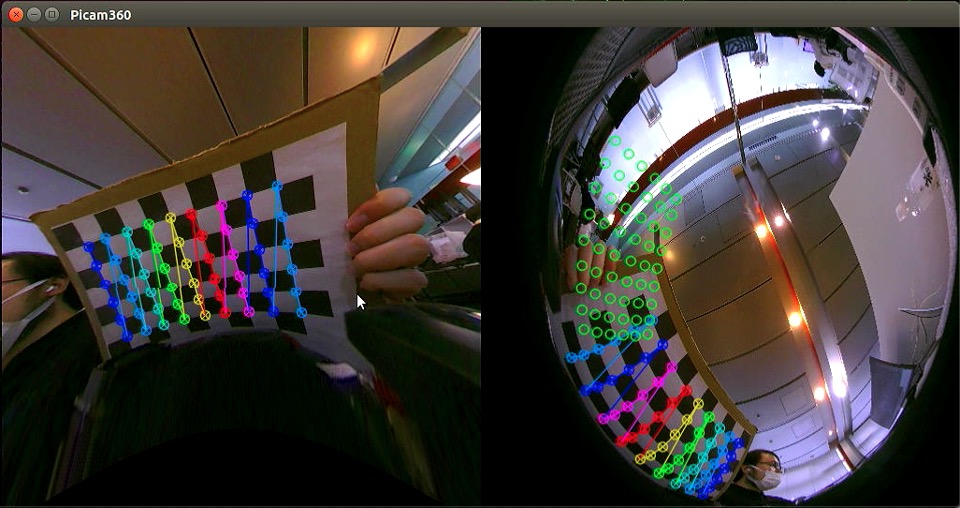
Repeat the process of moving the viewing direction and registering the position so that the green circles cover as much of the image circle on the right screen as possible.
Tip: If the screen is distorted when you actually use it after the calibration is complete, the circles are not covering the image circle. In that case, redo this calibration again.

When the green circles are in place, press the E key on the keyboard for the last time. The calibration file (lens_params.json) will be output.
If an error message (ERR=…) is output to the terminal when the E key is pressed, delete the calibration file and try the calibration again.
In the terminal screen, press Ctrl+c to exit the calibration screen.
Move the file to the configuration file directory.
The output location of the calibration file is the installation directory of the PServer software. The file can be used as it is, but it will disappear with the software when PServer is reinstalled, so move it to the configuration file management folder for easier management.
First, use the following command to display and copy the path of PServer.
$ which pserver
# Example:
# /home/picam360/.nvm/versions/node/v14.17.0/bin/pserver
Rewrite the path under the node version directory as shown below and navigate to the directory.
$ cd /home/USER_NAME/.nvm/versions/node/v14.17.0/lib/node_modules/node-pserver
If you run the ls command, you should find lens_params.json.
$ ls
Move the file to the configuration file management directory. At this time, add 0 to the end of the file name to indicate the camera number.
$ mv -f lens_params.json ~/pserver/lens_params0.json
After the move is complete, open the file and change the angle of view setting of the lens. Change “maxfov”: to 220.
$ cd ~/pserver
$ nano lens_params0.json
Example:.
{"k":[0.089557,-0.026938,0.000628,-0.000173],"f":[0.231964,0.309159],"c":[0.547276,0.577997],"maxfov":220}
Press Ctrl+o, Ctrl+x to save and close the file.
Updating the configuration file
Open the configuration file.
$ cd ~/pserver
$ nano jetbot-vr180x1-config.json
Change the lens_params in the capture.meta element in stream_params to the full path.
# Before change:
lens_params=\”file://lens_params.json\”

# After change :
lens_params=\”file:///home/USER_NAME/pserver/lens_params0.json\”
The camera calibration is now complete.
Continue next.
Series: Start Picam360 with Jetson Nano
- Items for Getting Started, and Notes
- Write Image to the microSD Card
- Install the Server Software
- Camera Calibration
- Install the Viewer App
- Connect
Picam360 Links:
- Web Site: https://www.picam360.com
- Web Store: https://store.picam360.com
- Twitter: https://twitter.com/picam360
- Facebook: https://www.facebook.com/Picam360/